Wednesday, November 30, 2011

grouted; waiting for curing to finish before sealing

Mixed slightly thinner than the thinset--more like soft-peak eggwhites

What goes on top of the tiles and not into the cracks, must come off...

Finished next day


Monday, November 28, 2011

Ready for grout tonight

The process of tiling the floor took slightly longer than we anticipated--and we made a few mistakes along the way--mostly involving not removing the thinset which had inadvertently gotten on the tiles/excess in the grout joint voids...

Needed one of these to remove the excess thinset...

Polly in thinset removal mode...

Our answer to tiling around the heating riser.  We will place a "toe-kick" heater under the cabinet, which will blow hot air onto the kitchen floor.

Sealed floor awaiting grout.


But the end result was pretty satisfying.  We will grout tonight!  :)


Saturday, November 26, 2011

Late night tiling

Name:  midnight_finish.jpg
Views: 4
Size:  62.6 KB
We started about 3pm in the afternoon, and finished what you see just after midnight...
Last night we finished about 85% of the tile work.

Bob, a professional tiler on the johnbridge.com forum suggested the Lacticrete 220 medium "thinset." It was was fantastic. mixed up like a dream--good pot life, and spread just like the 317 did. Kudos to you for the tip!

So, today, we took on the rest. This is how it turned out--

Name:  finished_floor_plus.jpg
Views: 4
Size:  40.3 KB

We used the clips and plastic "ramps" to keep the tiles in place--the floor was not a flat as I originally thought...

We'll seal and grout tomorrow. We went with the 511 Impregnator, and tested it on a half-cut piece of the Provenza Q-Stone, and it proved to be an improvement on the water beading and added a bit of color "depth" to the porcelain that we liked.

The boss has gotten into this project--and I for one, am glad for the assistance!

Name:  construction_boss.jpg
Views: 4
Size:  41.7 KB

Wednesday, November 23, 2011

funny colors make great products

I've started a thread on a "pro" tiler's forum (http://www.johnbridge.com/) seeking advice with the remainder of the kitchen and bathroom projects.  You can look at the forum post-thread here.

Someone commented on the color of the "green board" we were using.  Yes, it is "tennis" green, but upon looking up the product, it seems to live up to its colored hype.  It is a Lafarge product called Mold Defense® Type X 


From the website:  "Lafarge Mold Defense® Type X is a gypsum board enhanced with glass fibers to provide greater strength and fire protection for interior walls and ceilings. It provides enhanced protection against mold and mildew, both of which can cause material deterioration and staining."

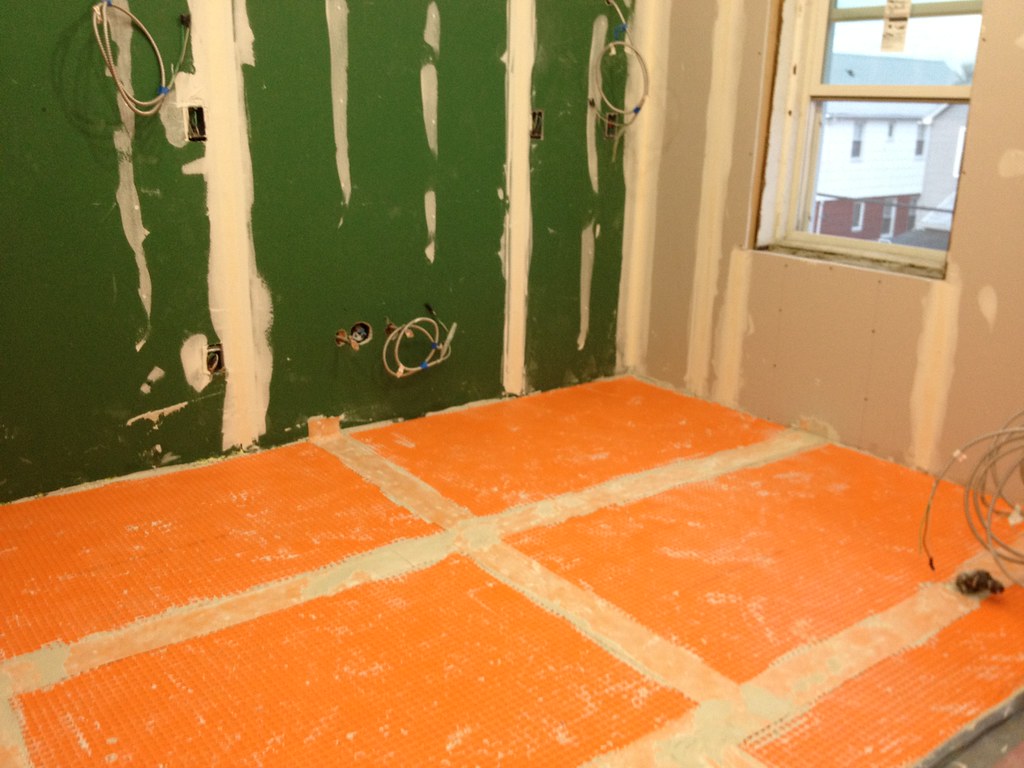
Now with the caution-cone orange color of the Ditra, we are ready to dance an Irish Jig!  


Tuesday, November 22, 2011

Bathroom and kitchen floors

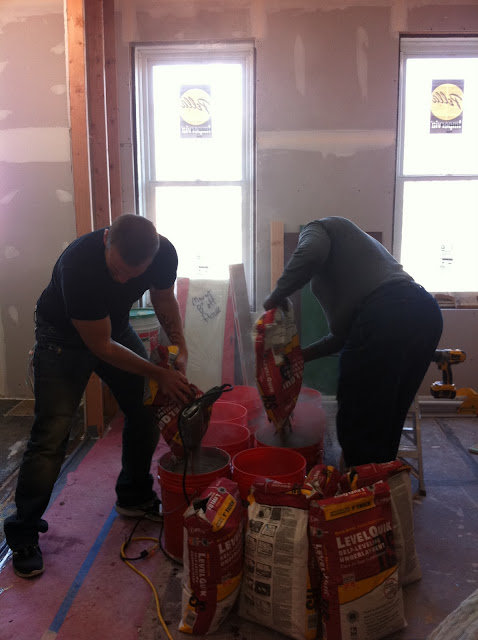
This past weekend we finished the self-leveling cement for the kitchen--with the help of friends, Butch and Jason. 

Jason on the left assists Butch in the mixing


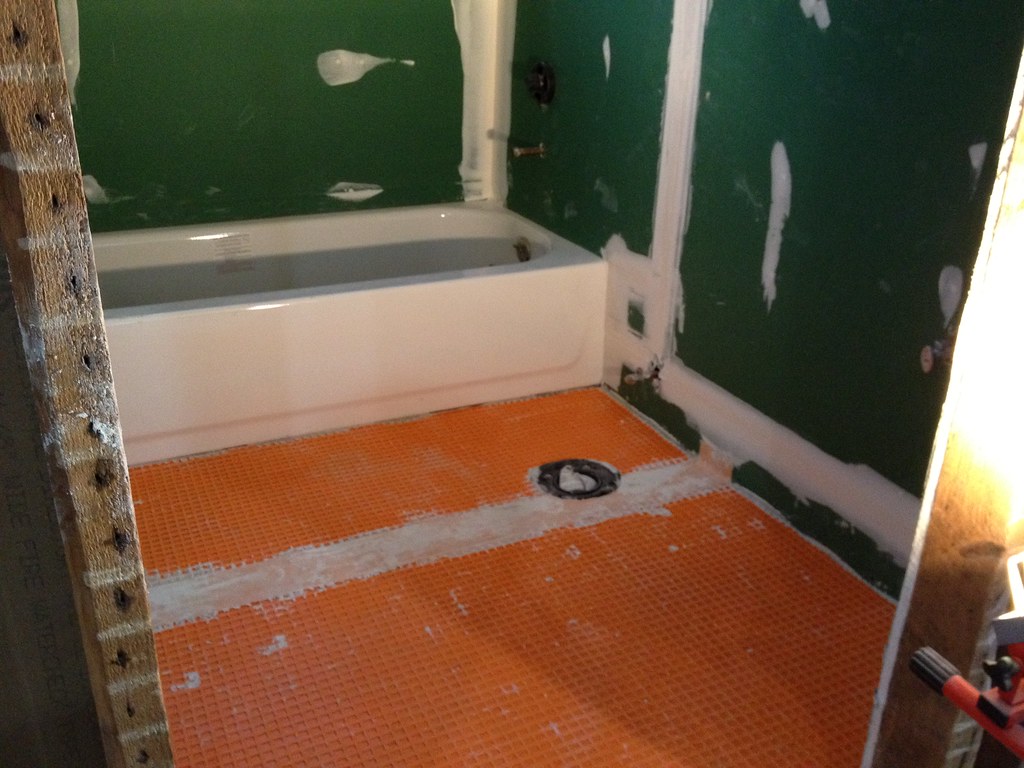
The end result was to have Ditra uncoupling membrane down on the floors and Kerdi waterproofing membrane on the walls in the bathroom around the tub.

Both are a Schluter product, made in Canada.  It is a bit more costly than just cement board or plain old thin set over plywood, however, it will add years to the life of the tiles on both the floor and the walls of the kitchen and bath.


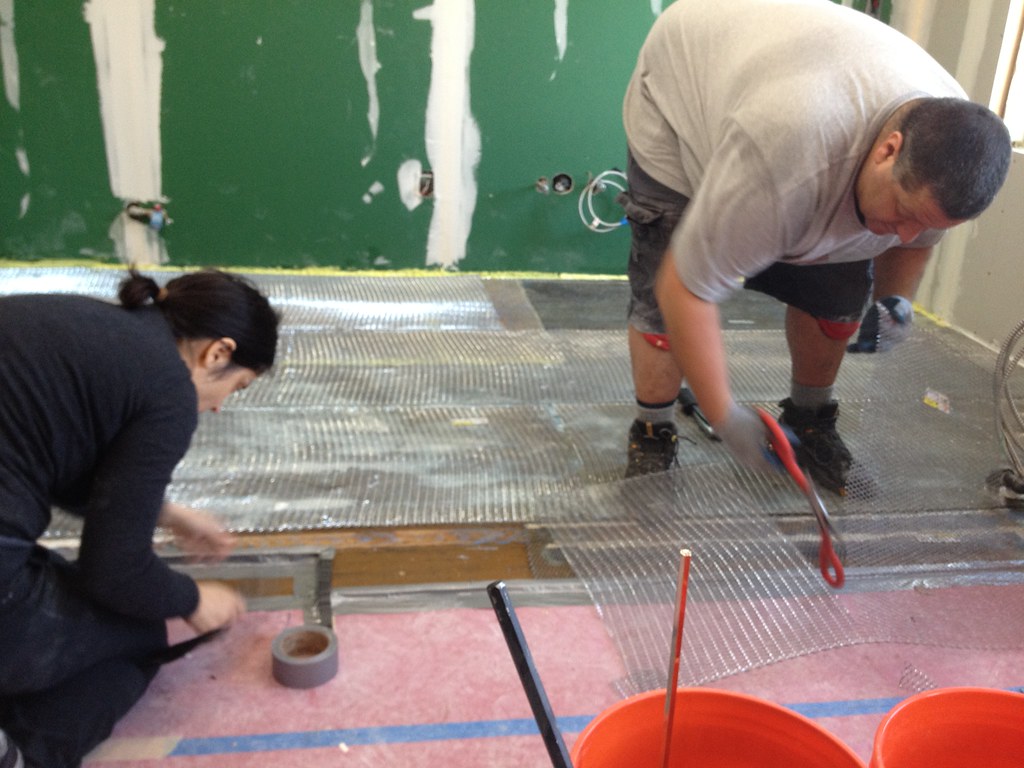
Installing the metal lath for the self-leveling cement


Self-leveling cement after a spritz of water during curing.  It is mostly level...


Bathroom floor with Ditra


Kitchen floor with Ditra

Monday, November 14, 2011

floors, drywall, and washer/dryer

The weekend proved to be a very productive one.  We hooked up the washer and dryer with Kenny, the plumber's help, on Saturday--he needed to connect a valve on the gas line.   


First load of laundry...

Floor repair with 3/4" plywood waiting for deck (coated) screws

Leveling out the tub

Finished floor with cement curing at 9:30pm Sunday night...


 We used a self-leveling cement, LevelQuick RS by Custom Building Products.  There is a latex primer to apply, and we also used a thin-gauge diamond metal lath stapled down to the sub-floor before we poured the cement.  We discovered two small holes we missed--rather the cement discovered them--fortunately, they were small, and the cement sets in about 30 minutes, so not a major leak-through.

The floor was cured by 7am this am, and was walkable.  Next steps are to put a de-coupling membrane down and then the tile.  More on that later.

We do have walls!  Well, one room from Friday...

Anastasia's room

Wednesday, November 9, 2011

Polly and her insulation

Polly has been working right alongside me all throughout the process, and this past weekend she insulated the exterior walls. Note the kerosene heater we purchased to heat us while the boiler was non-functional...

Rock-wool insulation.  Some 11-13 bundles of this was required...

Filling the spaces.

Polly admiring her work!

Finishing up the kichen floor


We are getting prepared to install the tile in the kitchen and bath.  The bathroom floor was completely demoed by Nick D and his crew, but the kitchen floor was only partially removed for access to the plumbing, and to take out the old pipes and hearth.  The brass pipes we expected to remove, but the discovery of a hearth below the floorboards was unexpected.  
Removing the retrofitted floor boards reveled a hearth


Interestingly, the wood below the brick layers was barrel staves used as support


There were three layers of brick under the floorboards—which were installed over the old hearth base in 1935.  We know this from the shreds of newspaper we discovered when excavating the old hearth’s substrate.

Like an urban archeologist... 


Here is what we suspect.  Given the age of the house, built in 1910, and the discovery of original cold-water lead piping to the second floor, we are betting on this having originally been what was known as a “cold water flat.”     The hearth and stove would have served a dual purpose—heat as well as cooking.  Also, there are three chimneys in the house, each with remnants of a cast-iron mantel shelf about 5’ or so off the floor.   

This brings us to our “dig.”  While clearing out the rubble of the substrate, I discovered shredded newspaper—from age, the crumpled newsprint had disintegrated.  However, with some careful searching we found some dates on the papers--  September 14th and 15th in 1935.  


Given this piece of the house’s history puzzle, we concluded that there was a conversion to central heat at that time—the installation of hot-water radiators heated by a coal-fired boiler.  (the old coal bin wall is still present in the basement).
Another speculation is that the parquetry floors were also installed at this time. 
The original tongue-and-groove sub-floor was installed with iron “cut-nails”—as was the house’s framing.  Cut nails had their heyday from about 1820 (development of the Type B nail) to 1910, the advent of the wire nail.
The pieces of parquetry we pulled up were installed with wire nails, not cut nails, adding to our theory about the retrofit.
1935 was also about the time when the house was sold to the owners’ family we purchased from.  So, was it retrofitted to sell, or after purchase?

I finished framing out the floor joists on Sunday, and the floor itself on Monday.

I had to make a "cross" of the 2"X6" joists to give the framing plate something to nail to.  Then I cut the plate to fit around the pipes. 

Finished sub-floor

Additional repairs to sub-floor.
Now onto the bathroom floor.

Heat and Hot Water Heaters, oh my!

Yesterday, the other Bradford White hot water heater showed up, and was installed by the plumbers.  Kenny, the plumber, also figured out the boiler issue--a faulty module was preventing start-up.  All better now.

Burnham ES2-6 boiler (128K BTU output) and two Bradford White Defender hot water heaters (40gal 38K BTU output) All three units EnergyStar rated! 

The boiler was working when we got home, and the first floor was toasty!  After bleeding the radiators of air, they all seem to produce more than enough heat.  The second floor radiators should be just fine for the amount of heat needed.  


Thursday, November 3, 2011

Updates for early November

Well...  It has been a month since we posted, and yes, you guessed it, nothing (much) has happened in the month.  The carpenter was back in to do a little framing work, and the plumber was back in to begin to re-route the old radiator risers.  But, the framing can't be completed until the risers have been moved, and the plumbers are waiting on the second water heater to make their final push...and thus, we can't begin the floors in the kitchen/bath until the above is taken care of in those areas.  Maybe this week...?


In other maters, we did get a record snowfall for the month of October over the Halloween weekend here in Gendale, NYC.  About 3" of the heavy, slushy, snow-ice mix.

October 30, 2011 in the am, backyard


This snow reveled a error on our part.  The roof vent for the kitchen was not sealed completely. 

When cutting the roof membrane for the vent hole, I needed to do it twice, as the first cut was 2" off center of where the vent needed to be.  Replacing the piece of cut crescent-shaped membrane, I glued it down, but neglected covering it with the cloth and tar-flashing... 

Yes, you guessed it, during the snow and the freeze-thaw, the cut membrane "popped" and water came in.  Fortunately, that area of the kitchen ceiling had not been closed up, and the only thing getting wet was the floor and a bit of the insulation, which was quickly pulled out to let the water "drip"freely into buckets.  Firing up the kero-heater dried out the mess--after, on Sunday, 10/30, we shoveled off the roof so as to minimize the water damage...

Notice the cut piece of roof membrane not covered by the tar...How could I have missed THAT?
Whoops!  Lesson learned.  Double and triple check your roofing work...


A happier sight was the installation of ONE of the hot-water heaters a week ago.  The other one, as of this posting, is still MIA, although they were ordered together....

Bradford White--smaller profile, same 40Gal size as the 20+ year-old A.O. Smith
But, we still do not have heat, as of this posting...  we bought a kerosene heater, and some of the rock-wool insulation we are installing on the exterior walls.  Maybe today is the day for the other water heater to arrive...

Kerosene heater and Rock-wool insulation