Tuesday, August 28, 2012

Bathroom Re-build

The first floor bathroom re-build began with the plumbing rough-in on Monday of last week (8-20-2012).  Kenny sent three guys to handle the job which included removing the old plumbing waste stack and brass piping and installing new copper supply and cast iron waste, cutting back into the main waste stack. 

Old DWS...mmmm.  Tasty! 

Here is the contact information for Kenny and crew.  English is not their first language, but they are competent, courteous, and quick. 

One of the plumbing crew cutting room for the toilet flange.
Bathtub set.  Yes, it is tiny, 4ft. long, Bootz special order from HD.

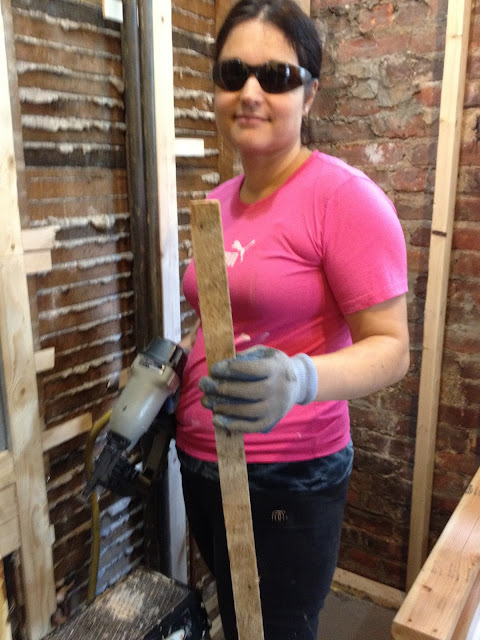
Anastasia helping tack down the wire mesh for the concrete self-leveler.

Self-leveler down.  The white in the concrete is some of the latex primer one needs to apply to the sub-floor to assist with the concrete adhesion.  I laid it on a bit thick, and was impatient to let it dry to tacky... 

Again we went with Custom Building Products LevelQuik RS 50 lb. Rapid-Setting Self-Leveling Underlayment from HD.

Window install completed.  It is nearly 50% larger than the one we installed upstairs on the second floor.

Safety first!

Moving the temporary lighting to make way to hang the drop ceiling framing.  We used 1.5" 20 gauge "C" channels and studs.  It made the install easy, and hanging the recessed lighting was a breeze.

Polly was responsible for ensuring the recessed "cans" were placed where she wanted them and evenly spaced out.

Insulation going in!

Monday, August 6, 2012

interior tuck-pointing completed

Wetting the joints before the mortar is applied.  The initial absorption rate of these bricks is quite high, as they are bone-dry.  This actually worked out pretty well with the Type-N mortar, mixed to the proper consistency.
The before looks like bad dental work...

We needed to temporarily hold a flexible form (an old kitchen cutting mat) for a few minutes while the mortar set.  It took only a few minutes for a full joint, and slightly less for the partials.  Then we tooled the joints.

These are disposable piping bags which can be obtained from a bakery supply store.  Just Snip the tip, and pipe away.

You can also use a masonry bag--basically a reusable cloth pastry bag.  This video on youtube is worth a watch for technique.


We really did not think it was necessary to grind out all the joints--most (80%+) were sound. I Just raked out the softer crumbling ones to about 3/4" to 1" depth, and we applied the mortar to those. 

Finished arch.  I am still debating placing a lintel just under the arch, which is why i did not repair/replace those bricks.  If no lintel, then I'll fill those bricks in when I frame out for the window.


Looks good as old!  ;]

Friday, August 3, 2012

Bathroom Window Demo

On Wednesday evening, we started to stage for the re-build.  I installed some temporary lighting and a the bakers scaffold.  The bathroom, with the radiator plumbing, turned out to be too small to accommodate both sides of the scaffold, so a heavy-duty metal sawhorse was employed to secure the left side of the deck.


Lighting we had used upstairs as well.

After we pulled out the old single-pane double-hung wood window--it HAD to go, no repairing it, I spent several hours yesterday looking for its replacement.  Seemed easy enough--the window rough opening is just larger than 24" wide by 48" high.  Placing a window in that space would be dearly double the old window's area, letting in a good bit more light.

I am not sure why someone filled in the space with mortar and scrap brick.  The original brick arch is still pretty sound.  the weight of the material just caused the top of the window frame to bow.

After removing the debris reviles the arch.  Obviously, it needs to be tuck-pointed, and I may add in a lintel for added strength, and to shrink the opening slightly.

Old style weight and pulley system.

Window removed and rough opening cleaned.

Looking on-line and calling several window manufactures--both the big boys, Anderson, Pella, and Marvin, as well as several local folks, I came to realize that what we wanted to place into the space, a double-hung vinyl window with obscure glass, was going to take 14-21 days to deliver.  EEEK!  We needed something sooner...much sooner.

Ebay to the rescue!  And the price was right.  This would have been a custom order, with a 21 day lead time...

BRAND NEW Nice White VINYL Double-Hung OBSCURED Home House WINDOW 24x45

Energy Star rated with a 20yr warranty.