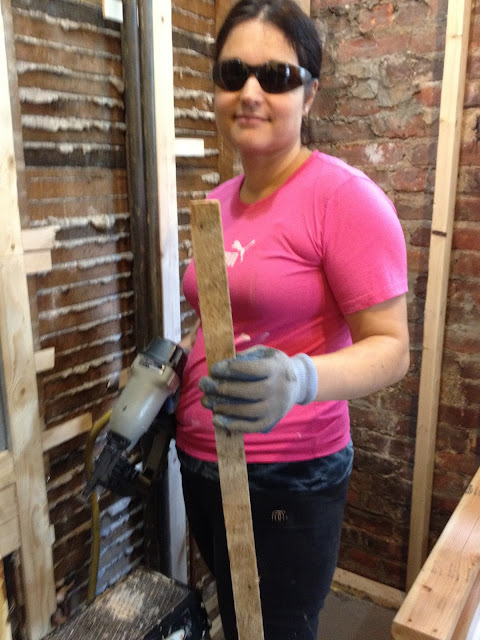
The first floor apartment is coming along, albeit slowly, as we are really only working on the weekends. Too much life is getting in the way of getting to the finish line quickly.
Polly has been the master on the tile in the bathroom! I mix the thin-set, and she goes to town! More images and postings after this weekend's final (hopefully) tiling push.
We decided to begin the blog as an historical record of our first home purchase in Glendale, NY. We intend to highlight our successes, and equally important, explain why we chose to "do" a particular thing, or why something did not work, and we tried again. All this while keeping energy efficiency and eco-friendly building/remodeling practices at the fore of our planning and execution.
Tuesday, October 16, 2012
Tuesday, September 18, 2012
Unexpected Roof Renovation
Well, it was not totally unexpected...
The monsoon rain(s) of August caused water penetration under the gutter at the back of the house. Water made its way into the kitchen from an overflowing gutter, and unsealed fascia board and brick.
The gutter repair was quoted out at about $1200. To repair the gutter, the roof needed to be cut back and a new fascia installed.
OK, so this prompted us to consider re-surfacing the roof. In order to accomplish this properly, the coping stones would need to be replaced, so the roofing membrane material (GAF roll cold-adhesive adhered with a white pebble granular coating) could be extended up under the coping stones, thus giving a complete seal.
And, while doing the roof, the skylight should be replaced with a vented one...and a new roof-hatch...all told, $7700. Two days work with a crew of 5-8.
We chose Joseph Ashley Roofing Contractors (DBA: ACJ Remodeling, Inc.) Joseph has been in business for himself since 1984--Italian boy from Staten Island. He has a steady crew of workers--no day labor here. He told us his son is also in the business. He's personable and no-nonsense.
Below are the images of the work over the two days (Aug 31 @ 91 degrees and September 1, 2012, at a slightly lower, 89 degrees). I was hanging with the crew on the roof for the duration--8-10 hours a day.
 |
| Old Skylight. No Vent... |
 |
| Old coping stones. The roof was laid up to the underside of the stones, and not up and under them. This was done back in October 2009. |
 |
| Old copper gutter. |
 |
| New aluminum gutter arriving. |
 |
| Close-up of the stones...patched and cracking. |
 |
| Demo begins. |
 |
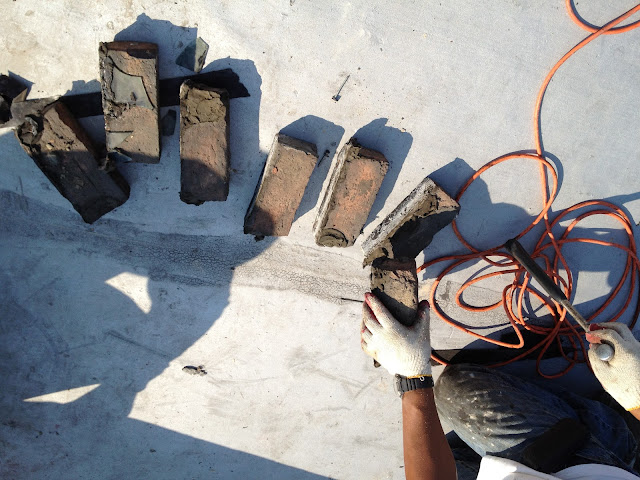
| Wall in front of house just crumbles. There would be a re-build of each of these walls before the new coping stones could be installed. |
 |
| Wall on north side. |
 |
| Continued removal of crumbling mortar and bricks. |
 |
| Messy... |
 |
| Cutting back the old roof. |
 |
| Old gutter removal. |
 |
| The bricks just pulled out from under the old gutter--no mortar left... |
 |
| Rolling on new membrane. A modified adhesive was troweled onto the old roof, and the new membrane was applied. |
 |
| Coping stones arrive in the afternoon of Aug. 31. |
 |
| Flashing cement and fiberglass mesh used to seal around roof protrusions. |
 |
| 8:30am, Sat. Sept 1st. Preparation of mortar mix. |
 |
| Removal of old skylight. Main roof membrane all applied. |
 |
| Old skylight atop old brick from walls, atop old hatch. |
 |
| Ready for rebuild. |
 |
| New Skylight--note vent. |
 |
| Repaired south wall. |
 |
| Repairing north wall. |
 |
| Prepping for coping stones. |
 |
| North wall replaced. |
 |
| Finished skylight from inside. |
 |
| One continuous roll of roofing material is applied to the parapet walls and lapped over the top and over the main roof. The material was applied using a heavy-duty flashing cement, Bulldog brand. |
 |
| Finished coping stones, sealed neatly. |
 |
| Finished, except for clean-up. Note new flashing around the roof hatch. |
 |
| Slathering the chimney with flashing cement for good measure. |
 |
| Company van says it all. |
First Floor Renovation on Track!
 |
| Green is such a lovely color! Polly and I finished the drywall in the bathroom and kitchen yesterday, and have begun to tape and "mud." |
 |
| Except, as you can see, the hole was 20' off the ground, and the brick was WAY more difficult to cut through than I imagined. Plus, I did not have the proper size hole-saw, so I wound up connecting the dots with a 1" masonry drill bit. Here Polly is finishing the caulking around the plastic vent louver. |
 |
| Finished job, wired up and functioning--an Air King High Performance 90 CFM Ceiling Exhaust Bath Fan. Two swivel elbows and a 4" flex line complete the venting. |
 |
| The tailpiece through the wall needed to be cemented, and that brick removed (on the right) just did not want to fit back into the puzzle exactly...but it is in there! Note the Roxul insulation in the exterior wall. We also added it in between the ceiling joists for sound damping and as a fire stop. |
Tuesday, August 28, 2012
Bathroom Re-build
The first floor bathroom re-build began with the plumbing rough-in on Monday of last week (8-20-2012). Kenny sent three guys to handle the job which included removing the old plumbing waste stack and brass piping and installing new copper supply and cast iron waste, cutting back into the main waste stack.
 |
| Old DWS...mmmm. Tasty! |
 |
| Here is the contact information for Kenny and crew. English is not their first language, but they are competent, courteous, and quick. |
 |
| One of the plumbing crew cutting room for the toilet flange. |
 |
| Bathtub set. Yes, it is tiny, 4ft. long, Bootz special order from HD. |
 |
| Anastasia helping tack down the wire mesh for the concrete self-leveler. |
 |
| Again we went with Custom Building Products LevelQuik RS 50 lb. Rapid-Setting Self-Leveling Underlayment from HD. |
 |
| Window install completed. It is nearly 50% larger than the one we installed upstairs on the second floor. |
 |
| Safety first! |
 |
| Moving the temporary lighting to make way to hang the drop ceiling framing. We used 1.5" 20 gauge "C" channels and studs. It made the install easy, and hanging the recessed lighting was a breeze. |
 |
| Polly was responsible for ensuring the recessed "cans" were placed where she wanted them and evenly spaced out. |
 |
| Insulation going in! |
Subscribe to:
Comments (Atom)


