 |
| Old DWS...mmmm. Tasty! |
 |
| Here is the contact information for Kenny and crew. English is not their first language, but they are competent, courteous, and quick. |
 |
| One of the plumbing crew cutting room for the toilet flange. |
 |
| Bathtub set. Yes, it is tiny, 4ft. long, Bootz special order from HD. |
 |
| Anastasia helping tack down the wire mesh for the concrete self-leveler. |
 |
| Self-leveler down. The white in the concrete is some of the latex primer one needs to apply to the sub-floor to assist with the concrete adhesion. I laid it on a bit thick, and was impatient to let it dry to tacky... |
 |
| Again we went with Custom Building Products LevelQuik RS 50 lb. Rapid-Setting Self-Leveling Underlayment from HD. |
 |
| Window install completed. It is nearly 50% larger than the one we installed upstairs on the second floor. |
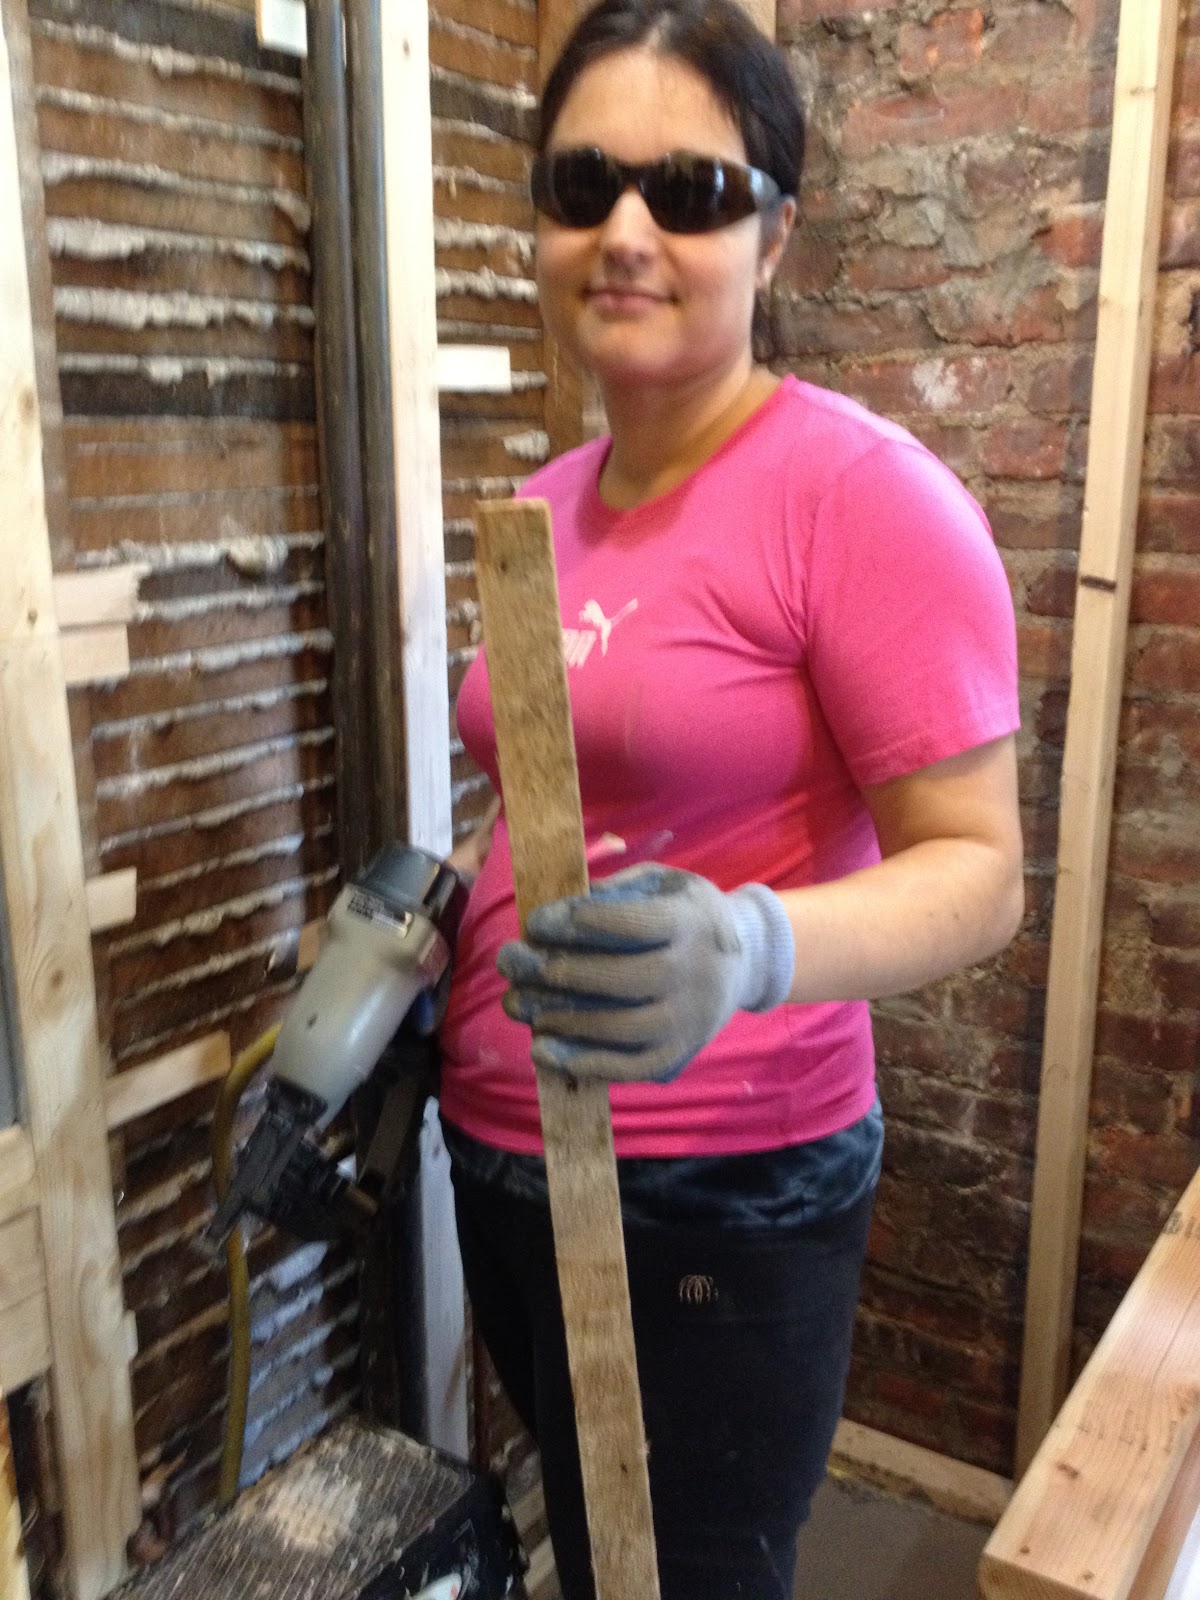 |
| Safety first! |
 |
| Moving the temporary lighting to make way to hang the drop ceiling framing. We used 1.5" 20 gauge "C" channels and studs. It made the install easy, and hanging the recessed lighting was a breeze. |
 |
| Polly was responsible for ensuring the recessed "cans" were placed where she wanted them and evenly spaced out. |
 |
| Insulation going in! |
No comments:
Post a Comment