I have not talked about the need for security cameras yet--I always intended to put them in, but it took the theft of my scooter to spurr me on to complete the job.
I purchased two Ethernet wired cameras, both for outdoor use by Panasonic (
BL-C140A and
BL-C160A), and
one wireless one with pan-tilt-zoom for indoor use by TRENDnet.
Ultimately, I could not get these to work satisfactorily with the computer--despite several attempts. First, The PoE (power over ethernet) cameras by Panasonic were good in theory, as you do not need to run a seperate power cable, just the Ethernet. However, the power injector could not compensate for the 40' run back to the switch for some reason. even at 25' it was a non-starter.
Second, I did not fiddle with the ports successfully to allow two cameras on the same internet web page. I could get one or the other. Maybe when we finish moving upstairs, I'll have more time to fiddle. The picture quality ans refresh rate were pretty acceptable, however.
The TRENDnet will be hooked up inside somewhere, maybe at the top of the stairs on the second floor.
I am kinda kicking myself that I did not think to have power wired up at the ceiling...
So, after "failing" with the first cameras, and the sense of urgency to get a system up and running, I went with a
Swann DVR4-2600 DVR (4 Channel, 4 Cameras) from B&H here in the city. Wired and powered, the cameras needed to be mounted and the connection protected from the elements. So, off to Home Depot to gather the necessary supplies.
AFC Cable Systems 1/2 in. x 25 ft. Non-Metallic Liquidtight Conduit (edit--actually 1/2" not 3/4")
Taymac 1-Gang 5-Hole Round Electrical Box
Outdoor covers for the Boxes
Conduit clamps
Masonry anchors
Right -angle connectors
Silicon--clear
Machine bolts and nuts
Now the assembly:
 |
| I drilled through the cover, and silicone-sealed the camera housing. The cameras adjusted, but be really careful, as the screw locking the camera in place is flimsy. I stripped one, and needed to replace it... |
 |
| The camera cable has a power in and a BNC video out. I plugged up the four holes i was not using with the included threaded plugs, and connected the right angle clamp to the side I wanted the conduit run to. |
|
|
 |
| Fishing the cable through. This took some practice, and there is little room in the conduit for the connectors. I had to stagger them to get them through. Note the right angle clamp. Once all was fitted, and the wires ran to the box, i applied a liberal amount of silicon to the end of the conduit and to the inside of the clamp, effectively sealing it watertight. |
 |
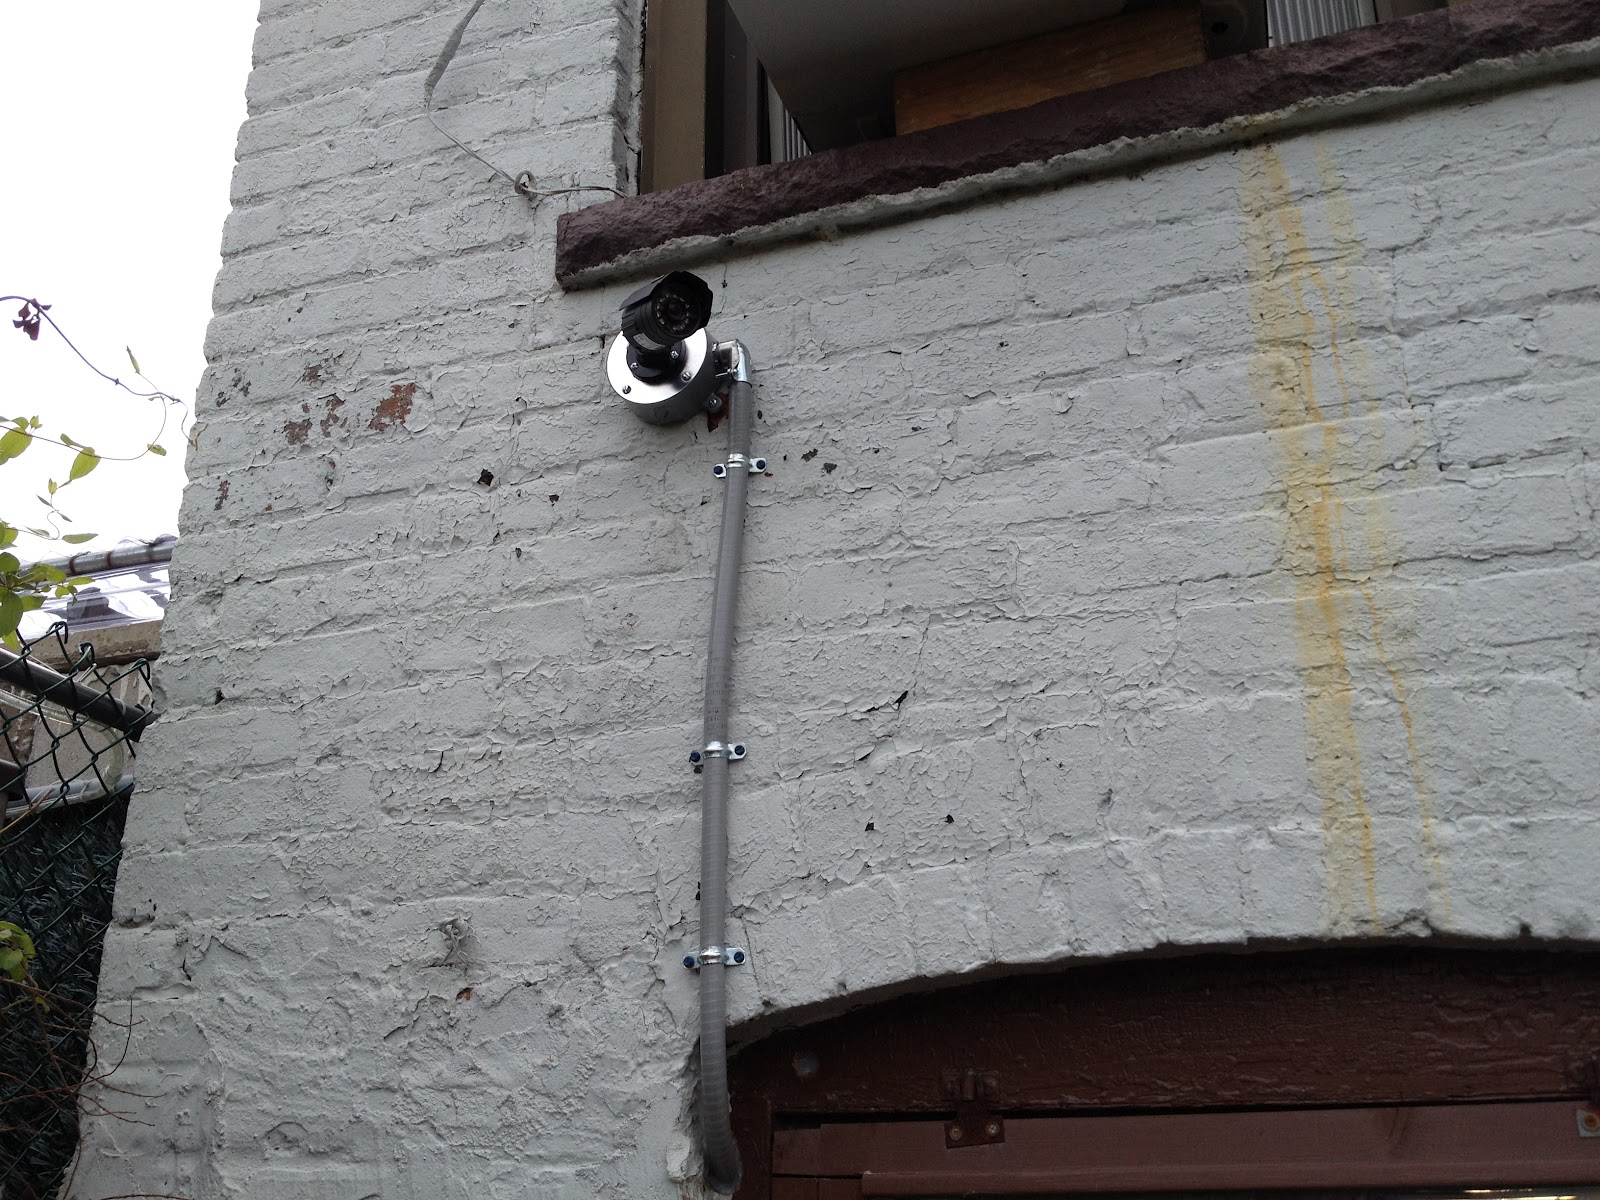
| Finished in the back. The camera points at the basement walk-out door. |
 |
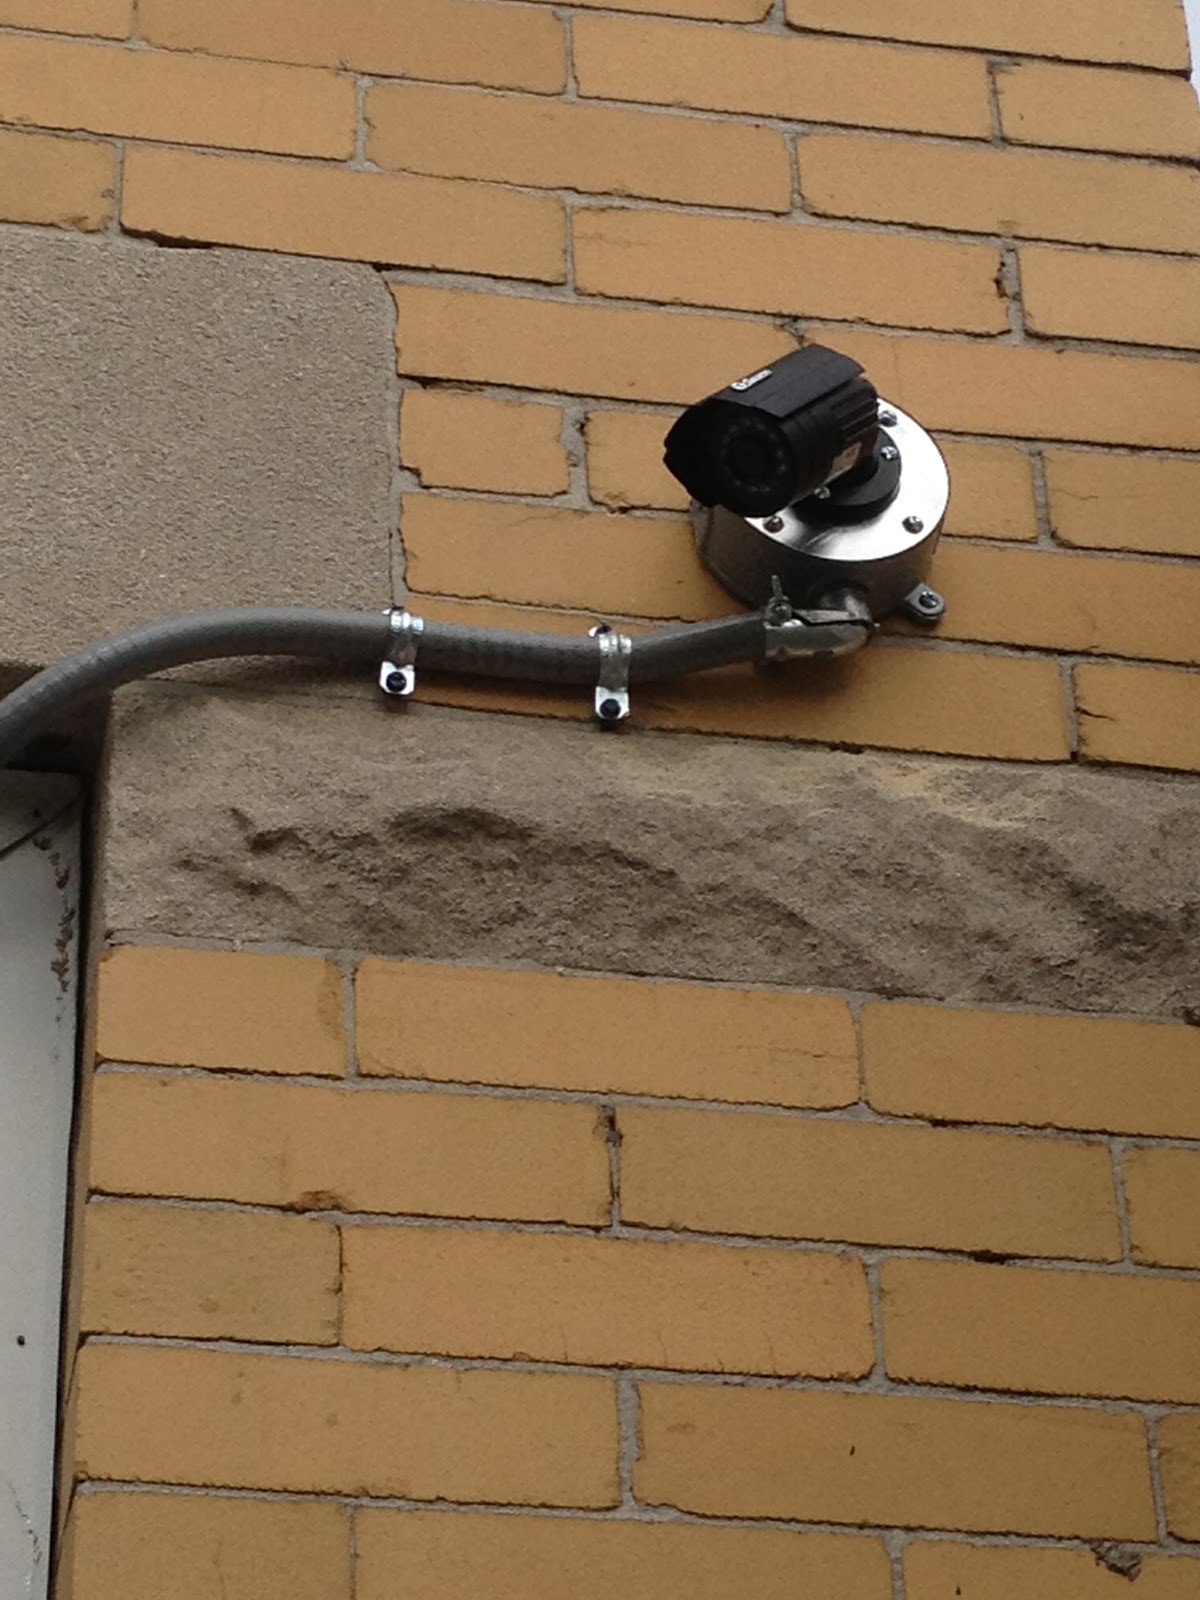
| Front camera #1. Looks at the fenced in area. |
 |
| I added a second camera in the front just looking down at the steps--the shot lower left. This is what the cameras look like in daylight. The upper right square was filled with a camera in the basement looking from front to back, including the stairs leading down from the first floor. |
 |
| Night vision. |
So far, i have been able to see the cameras on the local LAN, but have not configured them for remote viewing. These come with a iPhone app, and i have not gotten that to work yet either. I will report back once i do. But for the meantime, they are a visible deterrent and a recorded record of who is entering the house when.