Showing posts with label installing baseboard molding. Show all posts

Thursday, May 3, 2012

Hallway Floor, door trim, and bathroom lights

Just a small update--over the past several days, beginning on the weekend and finishing yesterday, we have been struggling with the hallway floor.  The idea was to strip it, as sanding the space did not seem to make sense, as we were never going to get it to a "natural" state again without a TON of work--which included a lot of dust...So here is a test-strip.

After stripping with Klean-Strip sprayable version, and a good couple of washings (when I say couple, I mean 4-5) with TSP, the floor looked like this.

The white stuff was the tile mastic/glue used to stick down the linoleum tiles.  


This is a shot of the floor when we purchased the house--the image is off of the Multiple Listing Service (MLS) from the original listing.  The "front door" was originally there.

After multiple washings, and a couple of 80# grit sanding belts, the floor is ready for paint.

Here in the boo-boo department is the threshold, which sits about 1.75" off the floor, where typically it should sit only a little over a half-inch.  I managed to re-use one of the old saddles to work it into the threshold "ramp." 

After one coat of latex satin exterior paint (Behr)

After three coats, waiting 24 hours between each application to let it dry.  Baseboard added, waiting on shoe molding.
I knew something does not look correct...

So I sent the pic to Polly.  I took the day off to hang out at the house with the electricians and to start on the door trim. Polly mentions that I have not cut back the wide pine piece to match the casement molding.

Much better.

Now the top piece aligns with the casement.  Crown molding is next, as we were looking to try and re-create some of the old look the house had when we bought it.

Not some of my best jig saw work...a little caulk and paint, and it will be good to go.

Finished top--waits for crown.
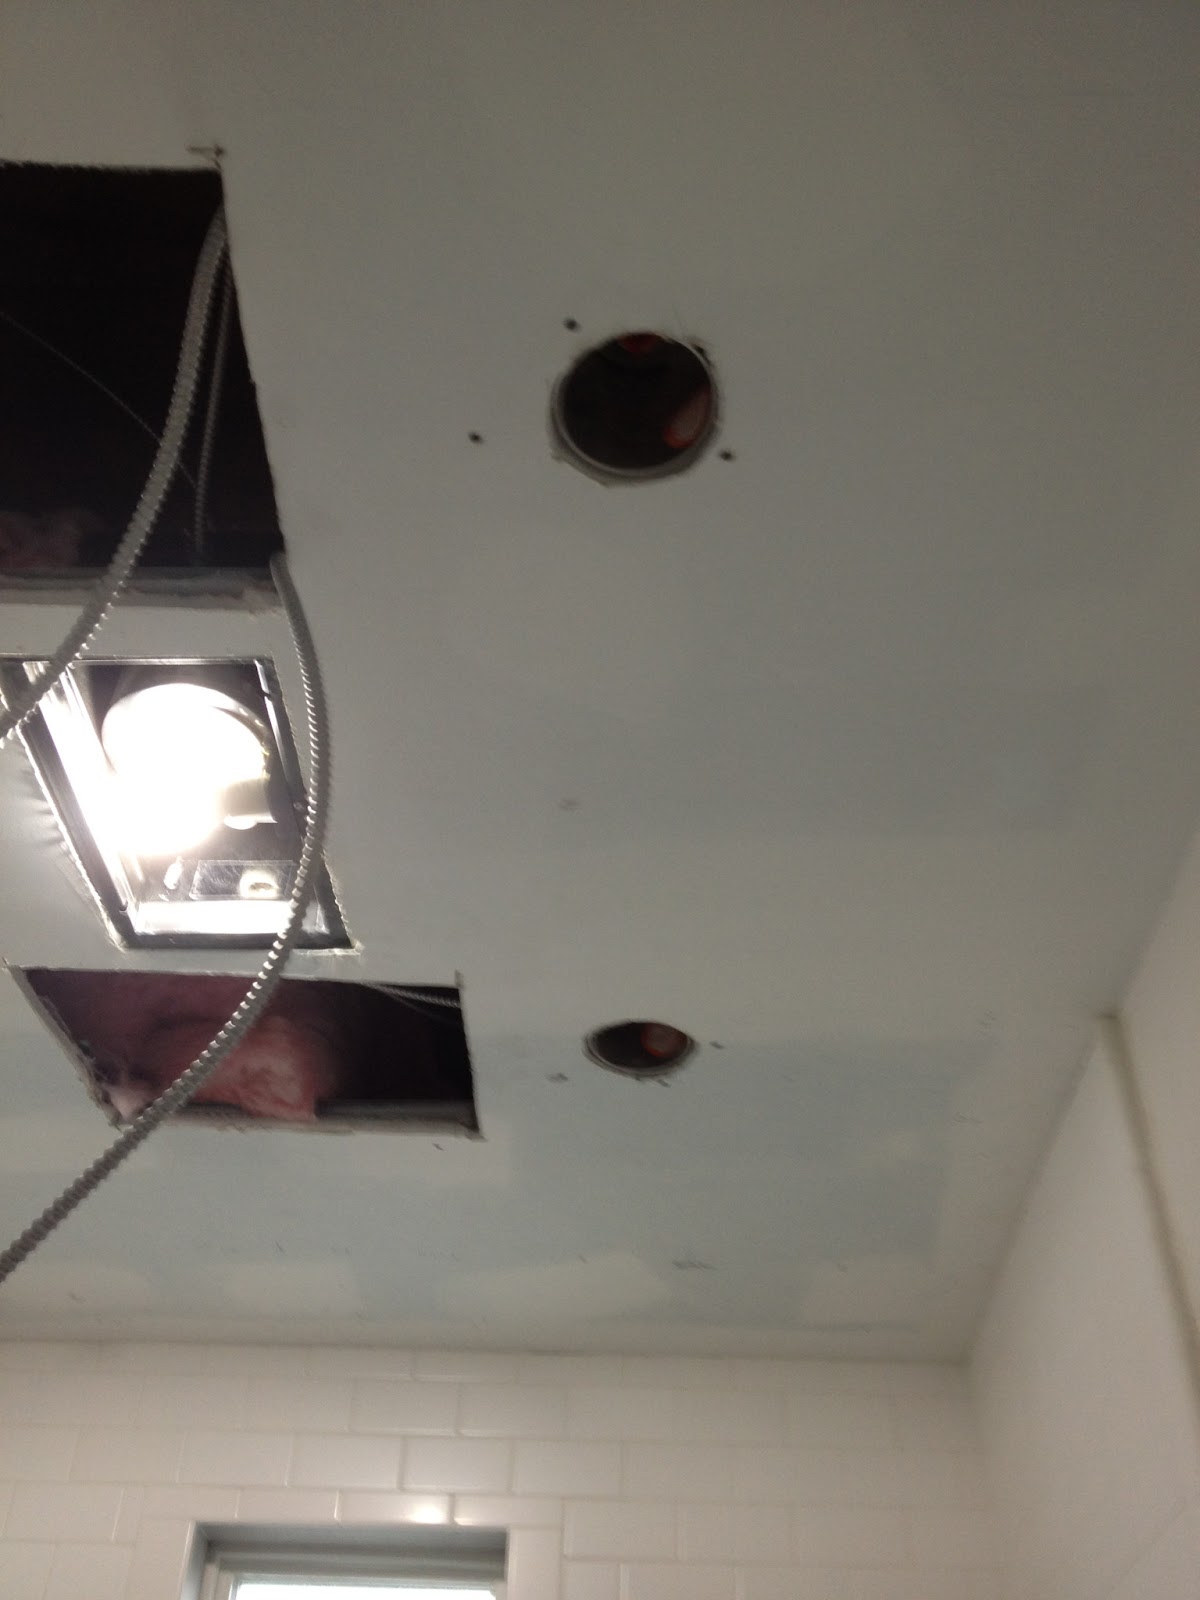
We had to have two additional ceiling pot lights installed in the bathroom--just not enough light.  Working out the placement was finicky, as the circle on the left would not work because the roof-vent was there; the electricians did not really want to place the lights in the shower--even though we purchased glass-covered baffles rated for damp locations...

Brings back memories...

Placement decided upon.  Finished pics coming soon!

Monday, April 2, 2012

baseboard, door trim, and finishing--almost

This weekend we managed to get started--and nearly through--the door frames, baseboard, and shoe molding trim-out.  Polly worked up the courage to use the pneumatic nail guns, and tooled around with drilling out the holes for the radiator pipes. 

The baseboard covered a multitude of sins, including drywall, edging of the floorboards, and the uneven floor.    We kept the baseboard as level as possible, and the shoe molding made up for any "waves" in the flooring. 

Since we have been using Glendale Lumber, our very local lumber yard, our moldings come from their supplier, Garden State Lumber Products Corp. the full on-line catalog is a great resource--including this handy diagram of all the names for "mouldings," or commonly spelled "moldings" here in the USA.

We chose the BB514, as Polly wanted a slightly taller baseboard.  It looks nice and clean when pared with its shoe, pictured below.

 
We chose the middle one, at 3/4" primed.  We recommend staying away from MDF.  If it gets wet, all bets are off--it will swell, puff,  and otherwise distort. 


Some adjustments were needed to finish this side of the door frame.  The stud is a standard 3-1/2" 2X4.  The other side of the door jam was framed with one of the reclaimed studs, which is a true 4" wide.  Remove drywall and shim; reattach drywall.  Continue with 1"X6" finish framing. This should have been caught by the drywall guys, me thinks. 

18 gauge finish nailer by Porter-Cable

I need a better image here--but you can see the baseboard was drilled, then sliced, and then re-assembled.  The shoe molding covers the gap nicely.

Looking toward the back of the house.  The wiring sticking out of the wall is the Ethernet and cable outlets, which I still need to finish the trim-out and connect.

Front bedroom.  Again, I need a better image (it was 6:30am when I took these before leaving for work today...)  But you can clearly see the shoe molding finishes the job nicely.