The process of tiling the floor took slightly longer than we anticipated--and we made a few mistakes along the way--mostly involving not removing the thinset which had inadvertently gotten on the tiles/excess in the grout joint voids...
 |
| Needed one of these to remove the excess thinset... |
 |
| Polly in thinset removal mode... |
 |
| Our answer to tiling around the heating riser. We will place a "toe-kick" heater under the cabinet, which will blow hot air onto the kitchen floor. |
 |
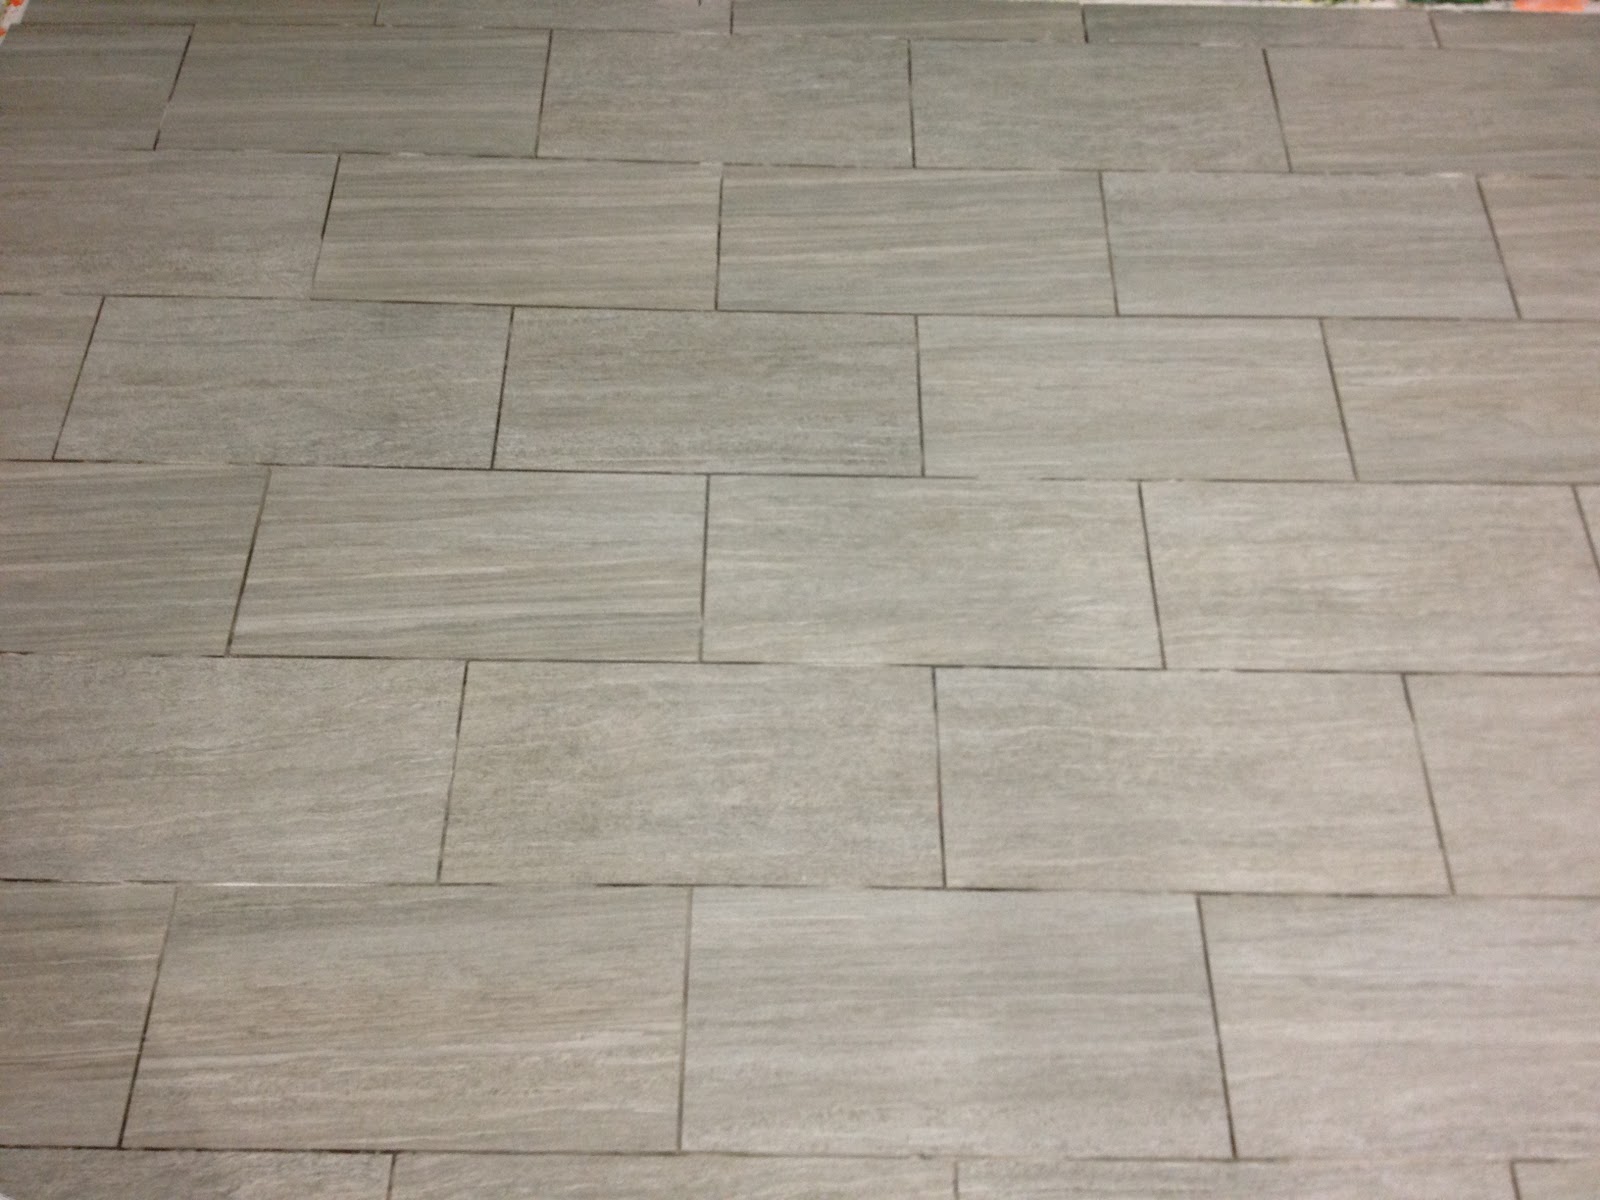
| Sealed floor awaiting grout. |
But the end result was pretty satisfying. We will grout tonight! :)


No comments:
Post a Comment