Thursday, February 23, 2012

Work completed thus far--PICS!

Polly picked out the loo...a KOHLER Persuade 2-Piece High Efficiency Dual Flush Elongated Toilet

Paint color choices...no part of THIS process was easy...

Shower faucet was a basic Moen "Branbury" and the sink faucet was from Ikea--"Grundtal"

This is paint color we chose; behind the radiator we painted first, as the radiator sits nearly flush with the wall.      Tiling the bathtub around the niche proved challenging; it's a little wavy here...
Looking into the "living room."

Bathroom with the "heat lamps" on.  The unit is an Aero Pure 80 CFM Quiet Heater with Fan and Light

I ordered a couple of LED closet lights on eBay (at a substantial savings)--the color temps are off a bit.  One is cooler than the other--meaning less white.  As Polly's face says it, "What are you going to do?"
Bedroom radiator.  Need to get to repairing this floor next...

Polly's walk-in closet radiator.  Cute, compact, and it heats well. Again, the floor was cut to move the old radiator's risers behind the wall.  The hole damage--in the living area it is most evident--is a contributing factor in our decision to replace the old parquetry floor.

The under-base-cabinet "toe-kick" heater.  I cut a trap-door for the unit.  It was really a "lucky" fit.

 Myson | Whispa III 5000 EZ Hot Water Kickspace Heater With 3 Ft. Long Plug-In Cord And EZ-Hose Kit | Delivers 3,589 To 5,443 BTU/HR bought from H-MAC Systems
Still peeling off the wrapping...

The faucet is a Kraus product; the water filter faucet was an amazon.com find.  Pretty good quality to boot.


The peninsula--covered with an old duvet and 3/4" plywood;  makes for a great workbench!

Remote temperature and humidity sensor.  The unit relays information to a base-station which monitors up to three remotes and its current location simultaneously.  68.8 degrees and 46% relative humidity

Water filter (Culligan) and sink plumbing.  Note the dishwasher drain inlet.  Nicely done by the plumbers.

The under-the-cabinet direct-wire connectable LED lighting by ET2 CounterMax MX-L (two each--E57902-SA 10" and two each--E57904-SA 20")

finishing up with contractor and subs

Jason pointed out to us this past Friday that he had not seen a blog post in a while from us.  Agreed.  SO this post is for Jason--our friend and realtor--who, by the way, won Prudential Douglas Elliman's "rookie of the year" for LI and Queens.  Congrats Jason!

Looking back over the last two weeks,we have accomplished quite a bit--although it does not seem so sitting back now and reflecting upon it.

Anastasia and Mom help out taking up the masonite.  Thanks Mom!

The sink and base (open console) came from Empire Industries via wayfair.com

Test sands of the old floor.  We were going to refinish with Rubio Monocoat but all things considered, the floors were not worth re-finishing.

Possible stains and wood treatments.  The right most color, sapphire, was just for amusement.  ;]

The flooring we *think* we have settled on is a ash wood, 5" wide plank floor from a local Maspeth, NY CarpetOne dealer.


Searching for the actual manufacturer of the wood floor was a challenge.  Rustic River is a CarpetOne "house brand."  We think it is made by Columbia Flooring a part of their Amelia or Silverton lines.  More on the flooring in a subsequent post.

LED undercounter lights. 

Friday, February 3, 2012

weekend plans feature flooring

We are coming down to the end.  Sort of.  We still have not decided on all the paint colors; hopefully Polly will settle on them this afternoon with an interior designer friend...

Last weekend saw the finishing of the tile--finally.  the kitchen was grouted and the bath is 75% grouted--we ran out of the grout...

We're finishing the crown trim and ceiling painting this week--images coming soon.  Below are some pics from the nearly finished tile work.

Grouting...

Finished kitchen backsplash

Some final clean-up is needed before sealing.  But it gives you a good idea of the colors together.

More kitchen

Bath--note the marble edge trim.  Better image coming...

Polly's shower niche...ran out of grout...

"Shelf" in Anastasia's room--will become a closet.  More info on that project to follow...

Framing the "shelf."

Install of the electrical ceiling boxes for the lights.

Wednesday, January 25, 2012

bathroom gets even closer

This past weekend was filled with tiling.  The bathroom is nearly complete.  Polly has been great--she helps figure out the tile placement, measures, and sets the tile.  I am responsible for mixing the thinsest, applying it to the walls, and for cutting the tile.

Below are some images of where we have wound up...

Closer and closer...

Door trim is figured out...time to choose a paint color...


Niche finished--finally--we need to pop-off the two rows of half tiles on the left top to continue the pattern below.  We had a moment of indecision last night...

Tuesday, January 17, 2012

finishing details plugging along

We are getting closer to completion--well the point of being able to get the plumbers and electricians back in to finalize their work.  The kitchen counter-top has been "templated." We expect an install date to be determined this week--probably the last week in Jan/Feb, if the counter people's estimates are correct.

This weekend saw us take to the window trim and continue to work on the bathroom tiling.  Both jobs are fidily as the walls and drywall are not nominal sizes or are they square/level/plumb.  We are doing the best to correct the flaws with measuring and fitting carefully.  It is slow-going as one could imagine.

As you might notice, the window wall (pictured left) is not plumb, sloping away as it goes up...

In order to keep the running tile pattern, we cut the vertical "baseboard" tiles as we went along.  This vertical pattern will be repeated on the other walls, even where we are not tiling, for a consistent look.

Marble accent tile.  We have enough of the sheets of marble tiles to run vertical in the back niche wall. 

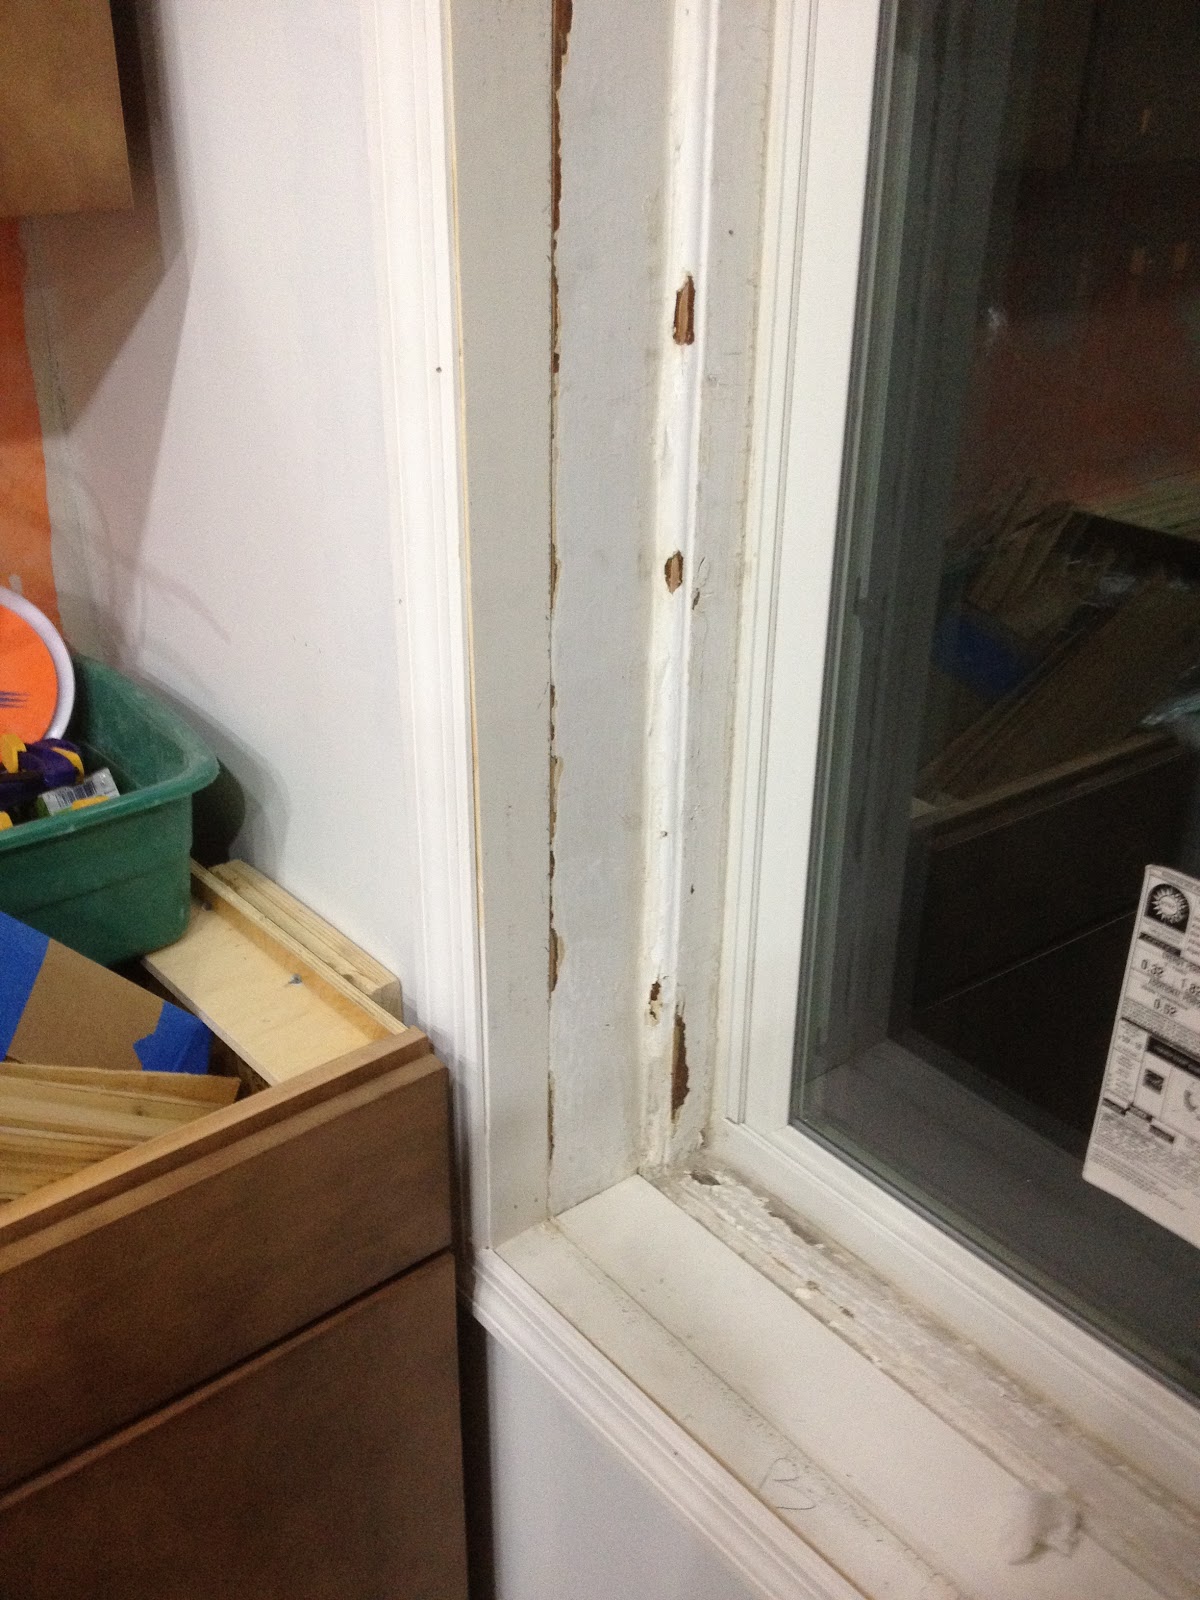
Window trim treatment. There are 3 parts to this trim-out: the natural colored piece of oak trim is fitted onto the edge of the stool, and I made a 45 degree cut to finish the edge.  The apron (under the stool) is made from a piece of the casing turned the other way.

Anastasia's bedroom window--needs to be patched and sanded, then primed.  Still, not a bad first go at fixing the gaps. 

Another look at the pieces fit together.


Monday, January 9, 2012

Polly decided on a paint color or two...

Polly decided on a paint color or two...but it took 12+ samples to get there...

color swatches being eliminated...


color choice for living area and "master" bedroom

Sunday, January 8, 2012

Kitchen peninsula with electric and temp top; radiators hung

Peninsula with temporary work top--note electrical installed

Mid-room radiator hung, waiting for plumbing connection

Back main room radiator--tall and slim. Polly painted the wall color behind the rads first...

Thursday, January 5, 2012

Kitchen Cabs installed

porcelain tile is HARD...

finishing at 10:30p...

note the backsplash tiles above the stove--also the stove is on a mover's dolly, that's why it looks so tall...


The living space after the cabs were moved into the kitchen

marking out the peninsula for the cleats

42" upper cabs--too tall?

trap-door for the under-the-cab heater

finished off window trim before the cabs installed--now it needs some filler and paint