Friday, September 16, 2011

We are in the pink!

For a while, we have been debating on how to ventilate the roof space.  I hemmed and hawed over types of insulation, whether the roof was going to get the ventilation it "needed," and how I was going to make this all work.

I realized early on in the process of thinking about insulation for the roof-rafters, I would need to provide adequate air-flow to allow the whole "unit" (insulation, roof, and ultimately the house) to breathe.

We are in the pink, so to speak.  R-30 on top of the ceiling, and below the roof rafters.
We will have a plastic (4mil sheet) "vapor barrier" installed on the ceiling rails, and the drywall placed on top of it.  We have not worked out the insulation strategy for the walls yet, however.

Our research tells us that our house, a two-wythe brick (with an air-gap between the wythes) load-baring house should really not be insulated, and if the walls are insulated, there be sufficient air space to allow the walls to breathe.  A typical fiberglass insulation with a vapor barrier is not the recommended way to go...

"Clearly, fiberglass batts should never be used to insulate the interior of a brick wall. (Since fiberglass batts are permeable to vapor and air, they permit interior moisture to condense on the cold bricks. That's bad.)" POSTED ON AUG 12, 2011 BY MARTIN HOLLADAY, GBA ADVISOR

So our thought process is leaning toward rock-wool (also known as stone-wool or mineral-wool), and no vapor barrier. Spray foam (closed cell) is the other choice, but we were not interested in coating the brick for a variety of reasons--With the exception of low-toxic cementitious foams, most foamed-in-place insulations contain hazardous ingredients and are toxic during application...also, the majority of commercial foams use ozone-depleting blowing agents....The EPA's concerns are discussed here.


Stay tuned...

Tuesday, August 30, 2011

Hurricane Irene and other roofing matters

small puddle.

leak above.

We are pleased to report the house survived nicely through out the storm.  Like an expectant father, I woke up at several points during the night on Saturday PM/Sunday AM to check on the upstairs and on the basement.  Thankfully, all was well.

We did discover several leaks, however.  We are assessing the damage today--hopefully with the roofer who installed the new roof back in October of 2009.  See older blog post for more info and judge the confidence we have on his abilities to repair his own work....

UPDATE!  The roofer came by and patched the roof.  A few details:

We thought we were buying a 1.5 year old roof installed properly ...  we had a letter of guarantee  ...

It was installed as per the previous owner's instructions.  Apparently, he did not want it "heat" applied, so it was put on with adhesive only, over basic tar-paper, nothing special.   OSB was substituted for the plywood called for on the invoice--my guess it was the roofer here, trying to save a couple of $$.  Finally, upon examination of a section of roof cut out for the solar fan, the nails used were not galvanized nor roof nails...

There are many ways of doing something, and construction is no different than software programming in this regard.  so, buyer beware... 
The roof membrane had come detached from the parapet wall.  So, a patch is being applied over the parapet cap.

Again, in the rear of the house, same issue--the original "new" roof membrane had come detached


And around the hatch...

Finally, a couple of seams were patched.  Louis, holding the torch and roof membrane, made good on his guarantee.  BTW: that is a 1400+ degree Fahrenheit propane fired torch...


Sunday, August 21, 2011

choosing tile: Tile World--Flushing, NY

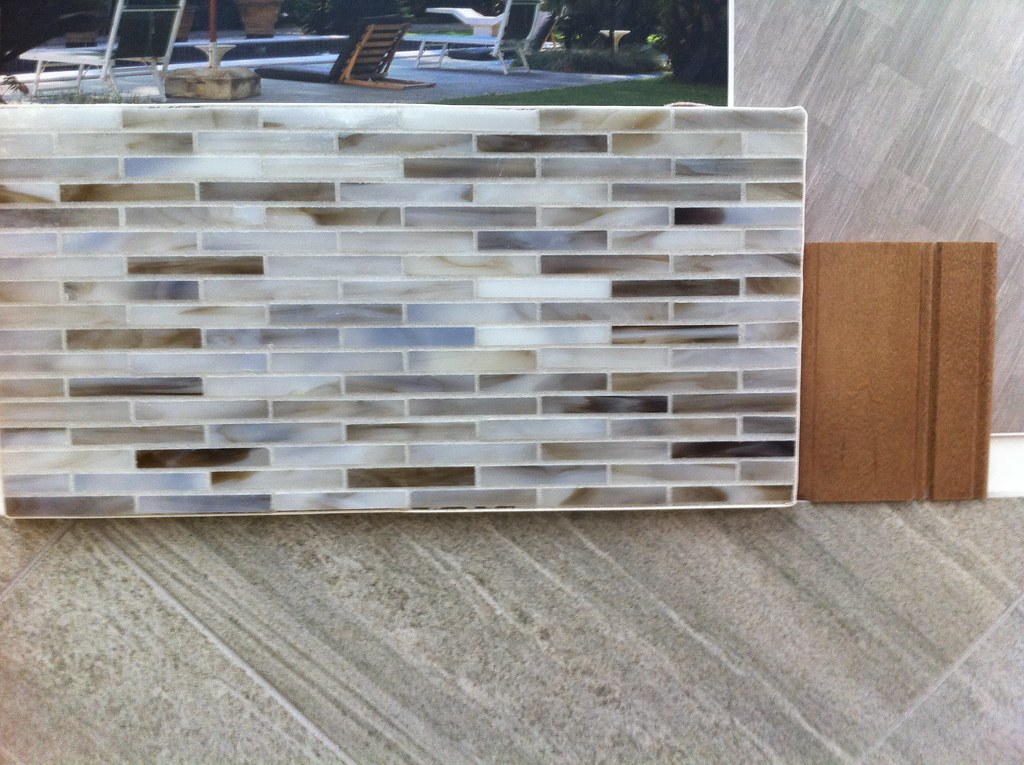
Although the color on the image is a bit washed out, the basic matching can be seen.  We chose the mosaic for the back-splash, the slightly grained composite floor tiles, against our "rye" stained maple flat-front kitchen cabinets.  Tile Floor: Provenza--an Italian quartz-composite tile, with 40% post-consumer content; Back-splash: Hirsch Glass Cabinets: KraftMaid; Counter-top: Quartz Surface by allen + roth (Sage Surfaces) Sugarbrush color


Tile World in Flushing is perhaps the best showroom for tile we have come across so far in our travels--NYC and beyond.  Yesterday marked our third trip to the tile-meca to finally purchase.

TW has good service and a HUGE selection--two floors of tile, and downstairs, there is a kitchen cabinet showroom. KitchenWorld.

Our sales person was attentive, and patient--although, as we were undecided in many cases, she buzzed off to take care of other customers in-between her attention to us.  It all worked out in the end.  Tile purchased, and samples in hand for Salem, our contractor.

When we first looked at kitchen cabinetry, we sat with a TW/KW designer, and mocked up our kitchen space.  The pricing was reasonable, and the available selection was pretty decent.  Although ultimately we went with Lowes for the extended no-cost financing options, the folks at KitchenWorld were efficient and friendly. 

Bath tiling decisions next....

Saturday, August 20, 2011

sustainability vs. practicality

In construction, there is going to be waste product.  Traditionally, the industry scraps over 30% of what comes onto the job site.  Up until recently, most of this waste material--packaging, broken items, left-over wire, ends of wood scrap, nails, screws, etc, etc.--wound up in a landfill. 

I am happy to report, the practice of not recycling the waste or not wasting in the first place, is slowly falling out of favor, for a multitude of reasons.  But, sustainability is not the first on the list. 

Generally, the first priority is to maximize use, thus maximizing profit. Engineered pre-fab houses or parts of them--framing sections, for example--are great ways to maximize the material use, and minimize waste, since the pieces are assembled off-site, in a highly engineered and controlled environment.  For example:

Low energy consumption processes and careful use of materials to limit waste and scrap are only part of Topsider’s commitment to sustainability and resource conservation

Now why do I mention this?

In the upcoming posts, I will be detailing the reasoning behind why we chose certain materials, our struggles with waste creation and disposal, and my feelings about the Reno-construction industry as a whole.  Please stay tuned!


Thursday, August 11, 2011

Early August, and the windows go in; framing takes a back seat to the unpacking

The window installers came by last week, and did a quick, efficient, and bang-up job of placing the nine replacement Pella Impervia (a fiberglass composite window).  The crew of three (contracted by WindowRama) arrived early (before 7am) and were done by 2pm.  They installed new aluminum flashing and caulked the install perfectly. 
Window Information


Installer Crew

Final install

Monday, August 1, 2011

time for a brief update, post-move

Seeing it's been over a month since we've checked-in with you all, here is a simplified pictorial version of what has been going on with the house renovation, beginning with the move:

According to this Chinese calendar page, July 28th was deemed a good day to move--and apparently, get a hair cut.  So we took this as a good sign and moved on the 28th.


Yes, they were our moving crew.  Nice guys; move took 8.5 hours, and every inch of the truck... 
First floor, middle room, before move...
After move...
Polly enjoys the yard in the AM, Saturday, July 30, 2011, two days after the move.  Notice Verizon came in and relocated the diagonal wires--well the most offensive ones anyway...

Framing comes along slowly upstairs; all walls which need to be re-built are now down.

First we clamped off the ceiling supports...

Then we tacked the true 2"X3" pieces together.  Many were twisted; we did our best to try and true them up.  Thanks Nelson for the help!
We went with Kraftmaid (an Elkay company) cabinets from Lowes for the kitchen.  We are still deciding on the color.  More on the  decision  to use Lowes in a later post.
Polly meets with Jim, the Lowes kitchen specialist.  For nearly THREE HOURS!

Monday, June 27, 2011

updates, progress, and family time!

a quick update:

This weekend was a flurry of activity at the house.  Polly's parents, Helen and Con had arrived from Australia on Wednesday, and we put them straight to work!  The mason finished the tuck-pointing, and I began the cleanup and prep work for the next phase--the framing.  Which is possible, because we were approved by the DOB!  If you are interested, here is the main link to the documents on the NYC DOB site.  More info than you can ever imagine...

Finally, we signed with BLUE GREEN RED, LLC to handle the construction permit, plumbing and electrical contractors, and consulting with us on the build-out and design.  Salem Darrow is now our General Contractor (GC).

Con helps out with the painting

Tuck-pointing complete--as complete as it is going to get...


Lintel repair complete

drywall hung in back room--now painted and complete
Backyard-view from 1st floor-all cleaned up and planted.  Note the bricks along the back fence and the plants along the left--all thanks to Helen (and Con, but mostly Helen) Dirt spot in center is where we dug up a slate stone, part of an old path, then reseeded.

Monday, June 13, 2011

bricks, mortar, and masons

Bricks


In investigating the lintels--or, rather, lack thereof--on the second floor "newer" windows, we discovered that the brick came from a company named The Rose Brick Company.  The link below provides a brief but interesting history of the company which made our bricks, as well as some famous NYC landmarks...


From the site:  "At its peak, The Rose Brick Company sold 400 million brick a year worldwide. Architects and builders recognized the superior quality of Rose-made brick. Rose Bricks were used in the Ansonia and Bell Nord Hotels, the Customs House at the Battery as well as the Empire State Building, the Linden Apartments in Riverdale, the Stock Exchange, the Singer Tower (now gone) and the Waldorf Astoria."

There are also some bricks labeled *DK* (see the mortar imprint , top left of the image)  which, according to the site, came from Hudson, NY.

Mortar
The mortar holding the bricks in place is a cement-lime sand mix...mixed by hand 100 years ago.  Duplicating this mix will be nearly impossible w/o some chemical analysis.  I thought about having the mortar analysized, but after a bit of research, i decided the expanse was probably not justified, and we could get away with a "n" type of mortar mix with a latex additive.  I'll have the complete breakdown of the method and "formula" the mason decides to ultimately use.  More on this later. 

the first floor is taking shape; hired mason for second floor interior pointing

An update on the weekend's activities:  we managed to get the kitchen and bathroom of the first floor cleaned--with Rimina's help.  the floors were papered in preparation for paint, and the kitchen walls were stripped of the wallpaper and washed down with a TSP (Tri-Sodium Phosphate) solution.

Polly tapes down the rosin paper.


Three layers of vinyl wallpaper, one-two layers of paint--over the wallpaper, and at least one layer of much older paper-based wallpaper...spots on wall are old, inactive black mold...
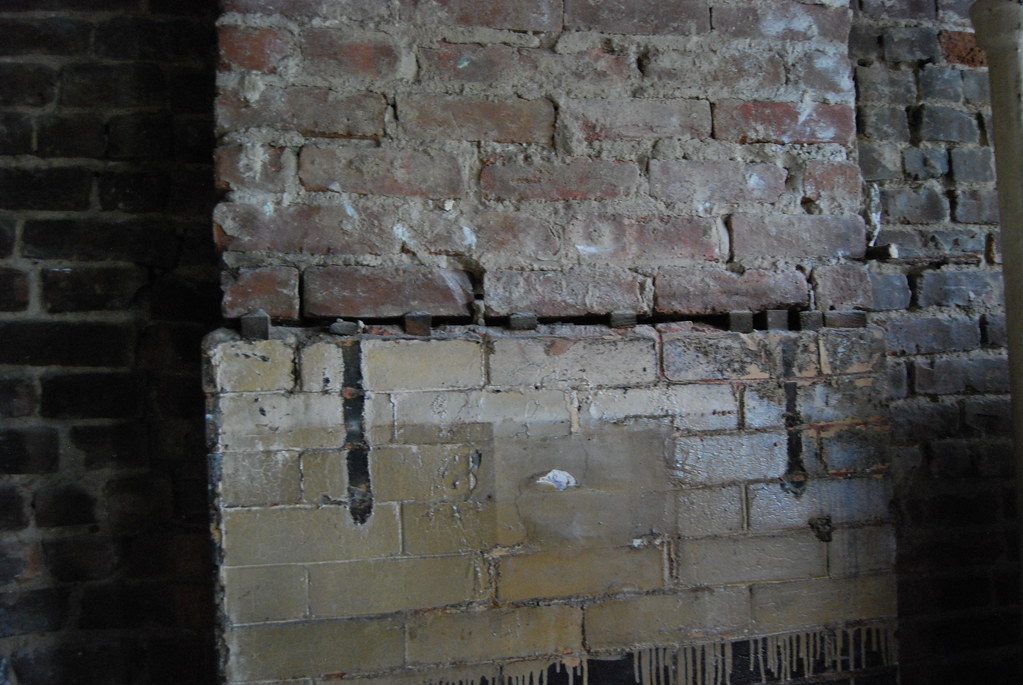
The paper pealed off fairly easily--no need to steam or scrape all that much, thanks goodness.

TSP to the rescue!

Sunday, June 12, 2011

building plans off to the Queens DOB

I spoke with Eddie (the draftsman and asbestos guy) over text messages on Friday.  He indicated the plaster sample came back negative for asbestos.  The plans should be off to the Queens DOB as well.

This weekend finds us cleaning and prepping the first floor for paint, and the second floor for the masons coming in next week.

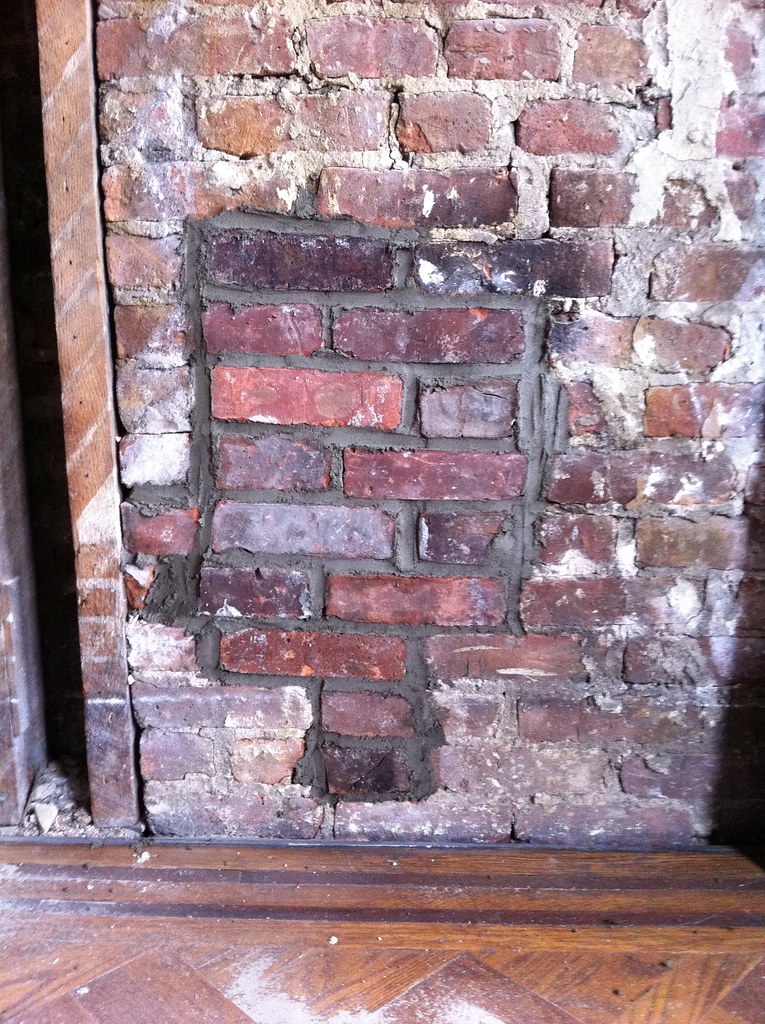
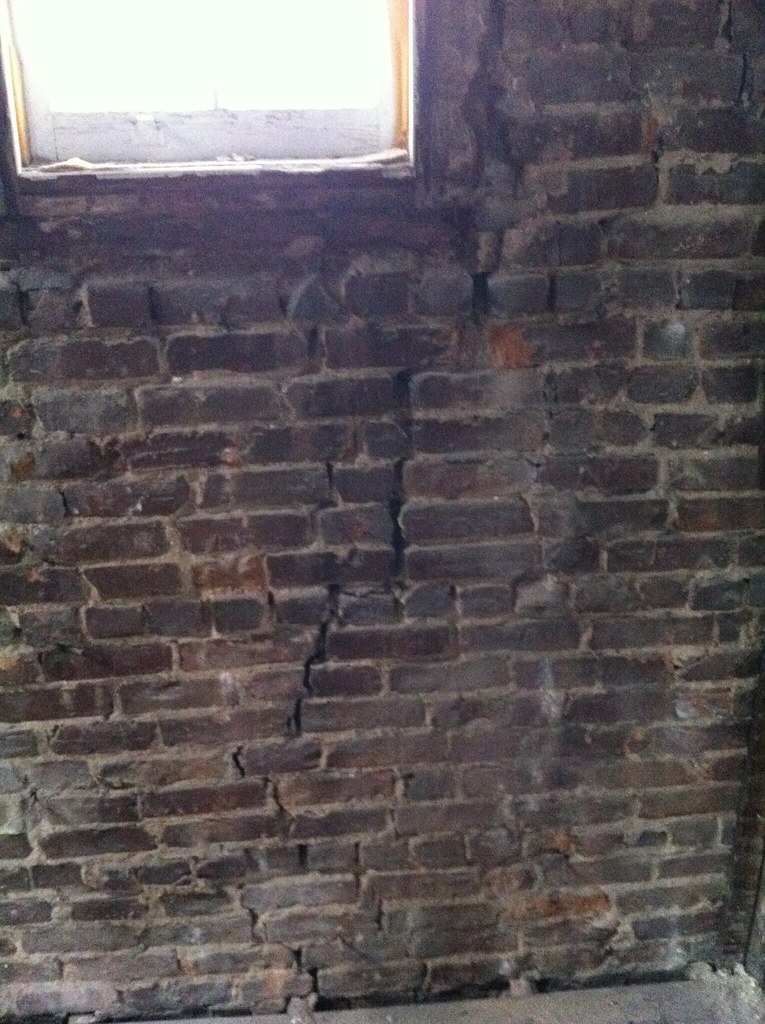
We selected NY NY Constructing Corp. to work on the interior tuck-pointing and window lintel repair on the second floor.  Much of the 1200 square feet of wall on the second floor (probably nearly half) needs to be repaired.  Below is an example. 
Chimney in the kitchen area--notice the original brick below the crack--it is facing brick, indicating it was exposed, and the crack was the result of a cast-iron mantel which was removed.  An original mantel exists in the basement on another chimney.   


The bathroom wall sustained the most deterioration over the years

There are two windows which were put in on the south wall later on--probably 30+ years ago... Always install a lintel, people!  Fortunately, this is only damage to the interior course of bricks. 
Monday, June 6, 2011

chimney finished; cleaning of first floor has begun

B&P Chimney came back on Saturday am to finish the job: repair the holes, place the cap on the chimney, and cement the crown. all and all, a quick 1.5 hours work for three men.

Samir of B&P works to set the cap and finish the crown


Repair work to the second floor

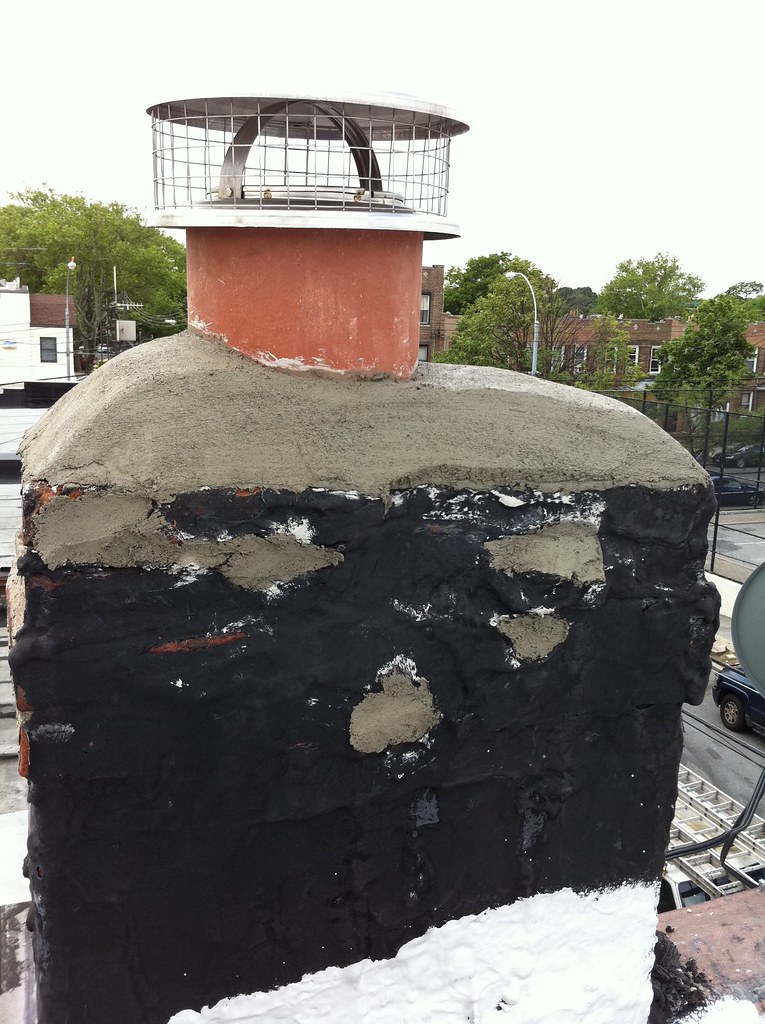
Finished cap and crown


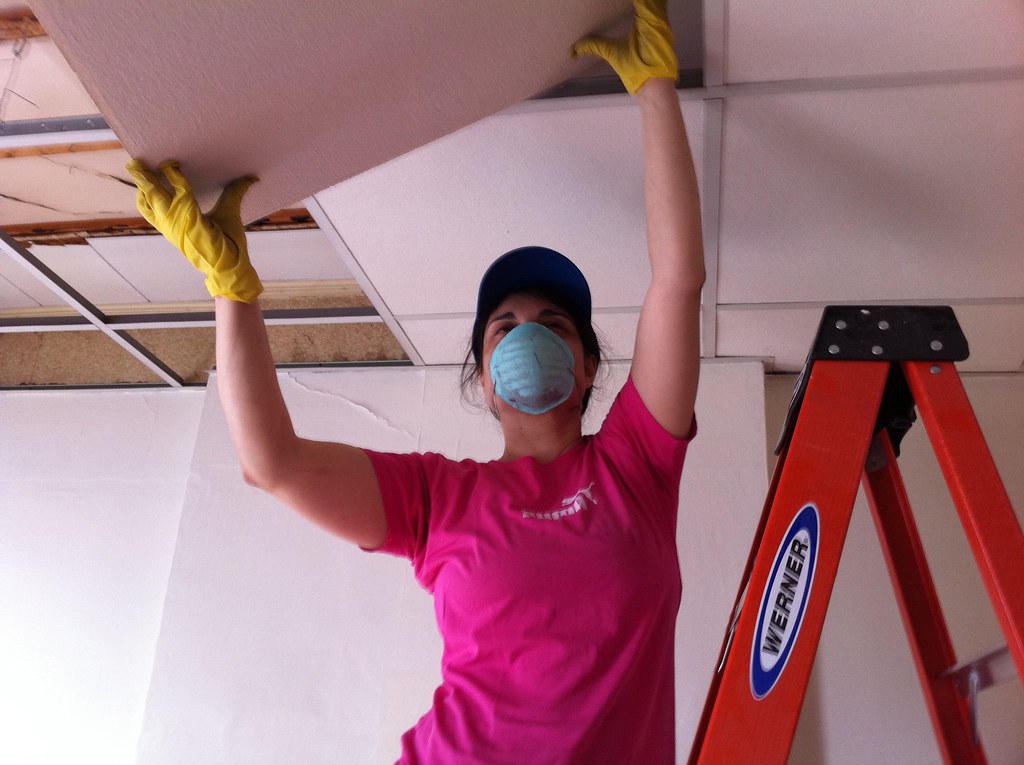
Then, on Sunday, the fun began--the cleaning and prep of the first floor began in earnest. We removed the drop ceiling in the back room off the kitchen--

Polly working overhead

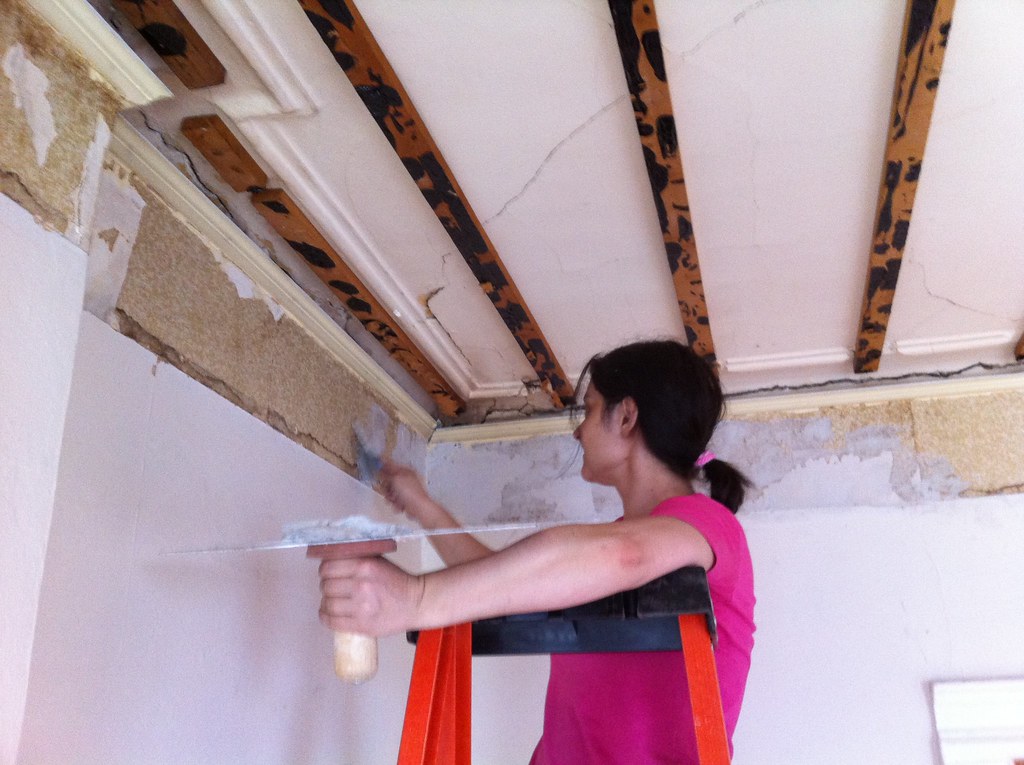
The removal of the drop ceiling reviled a second (or first, depending on how you look at it) "drop ceiling." Made from interlocking 12" acoustical tiles, this type of ceiling was also present on the second floor, and it is in the front room of the first floor. It was probably installed some 30-40 years ago

The installation of it involved furring strips and tar-like adhesive. fortunately for us, most of the old work was removed when the 24" panel drop ceiling was installed. There were a couple of partial courses of the tile along the perimeter of the room only. But, the nails remained, and needed to be removed for drywall to go up.

Polly works on filling the nail holes left from the removal of the drop ceiling.  Note the furring strips on the ceiling--making it really easy to cover the ceiling with drywall. 


Saturday, June 4, 2011

chimney re-lining

last non-tenant update: they are out, and the locks are changed.  ;]  the apartment needs a really good cleaning, as you can imagine. and then some paint...

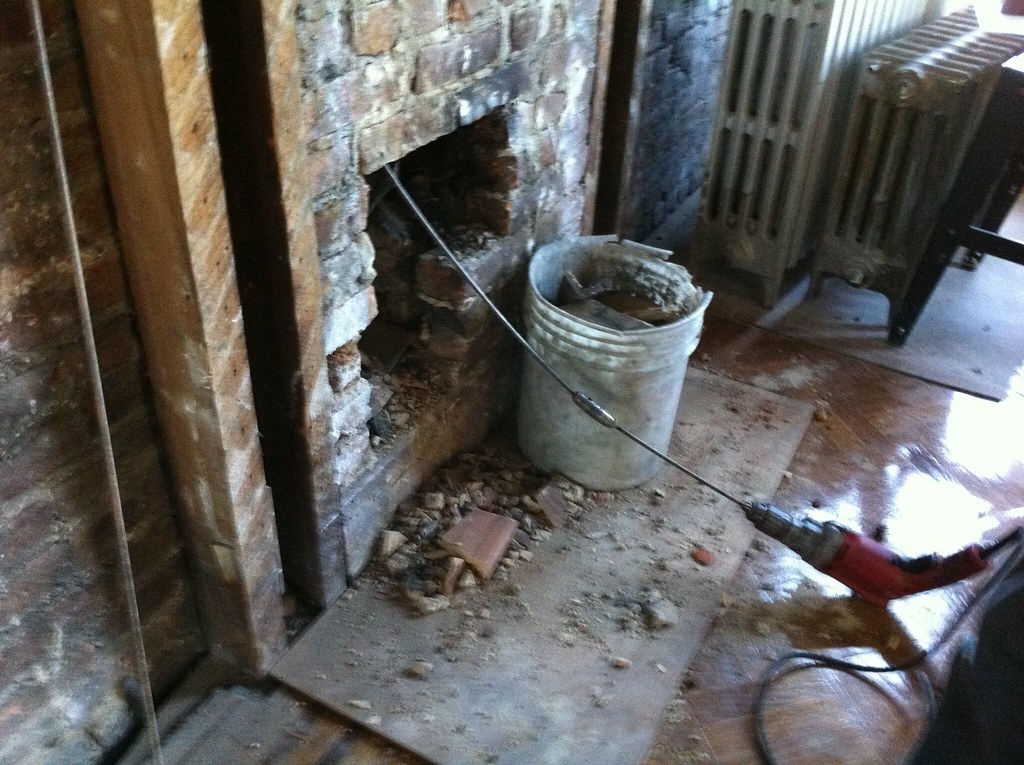
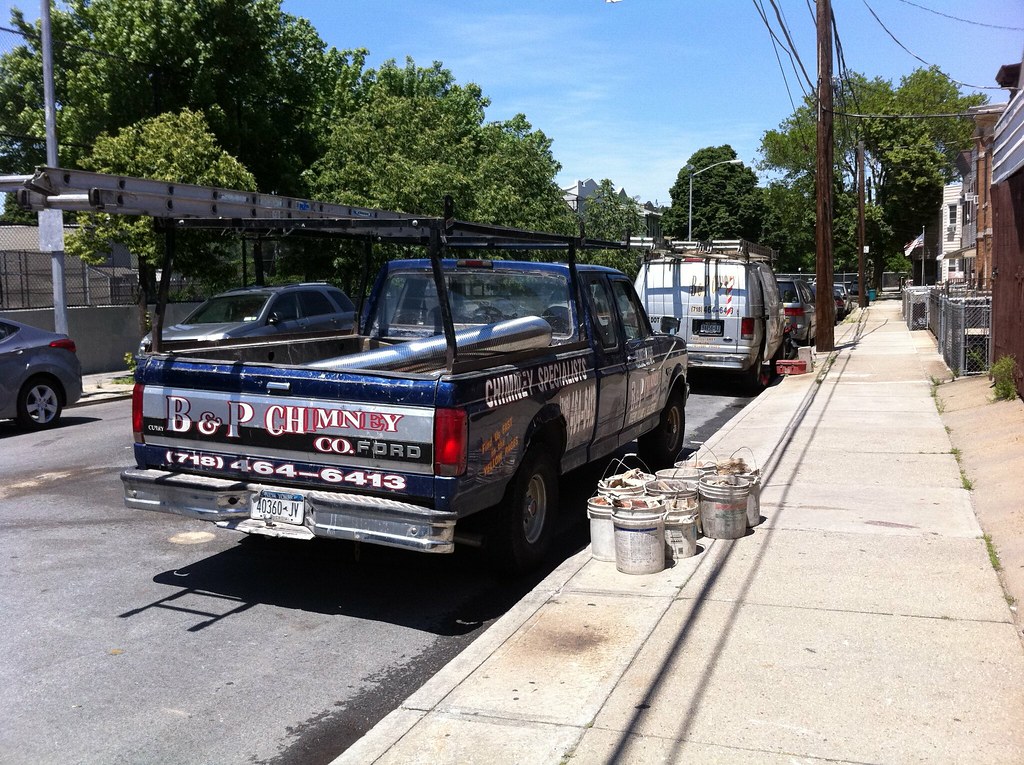
but i wanted to update the blog with the chimney repair-reline which started yesterday,  Joey and two other fellas came by around 8:30a, and worked pretty steadily until 3p--save for 30 minutes for lunch.  
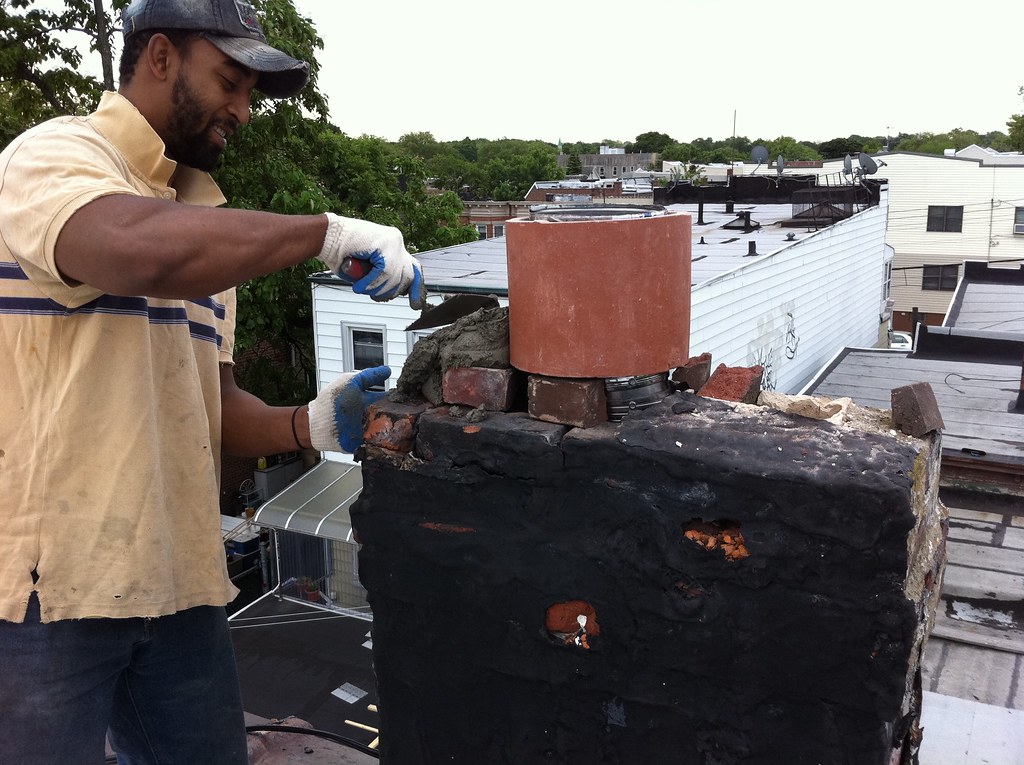
the clean-out involved knocking a couple of holes in the interior walls of the chimney--


Joey [Standing Right] and the boys

First floor, end of the day.  Note re-building supplies.


insertion of the final stainless-steel section into the chimney

B&P Chimney.  There were some 10-12 buckets of debris removed...